In an increasingly digital world, LED display screens have become a staple in various applications, from advertising to personal projects. This article delves into the intricacies of DIY LED display screens, exploring their components, functionality, and the steps required to create one from scratch. Whether for artistic expression or practical uses, understanding LED displays can empower individuals to innovate and create.
Understanding LED Technology
Light Emitting Diodes (LEDs) are semiconductor devices that emit light when an electric current passes through them. This technology has revolutionized how we display information and images, offering numerous advantages over traditional display methods. The versatility of LEDs has led to their adoption in various sectors, from consumer electronics to automotive lighting, and even in horticulture, where they are used to promote plant growth through tailored light spectrums.
How LEDs Work
At the core of LED technology is the principle of electroluminescence. When electrons recombine with holes in a semiconductor material, energy is released in the form of light. This process occurs in various materials, leading to different colors of light, depending on the chemical composition of the semiconductor. The ability to manipulate the materials used in the semiconductor allows for the creation of LEDs that emit a wide range of colors, including those in the ultraviolet and infrared spectrums, broadening their application beyond just visible light.
LEDs are typically categorized into two types: organic LEDs (OLEDs) and inorganic LEDs. While OLEDs are known for their vibrant colors and flexibility, inorganic LEDs dominate the market due to their durability and efficiency. In addition, OLED technology is making strides in the realm of displays, particularly in televisions and smartphones, where the thin and flexible nature of OLED screens allows for innovative design possibilities, such as curved displays and ultra-slim profiles.
Advantages of LED Displays
LED displays offer several advantages that make them a preferred choice for many applications. They are energy-efficient, consuming significantly less power than traditional displays, which translates to lower operational costs. Additionally, LEDs have a longer lifespan, often exceeding 50,000 hours, making them a cost-effective investment over time. This longevity not only reduces the frequency of replacements but also minimizes waste, contributing to a more sustainable approach to lighting and display technology.
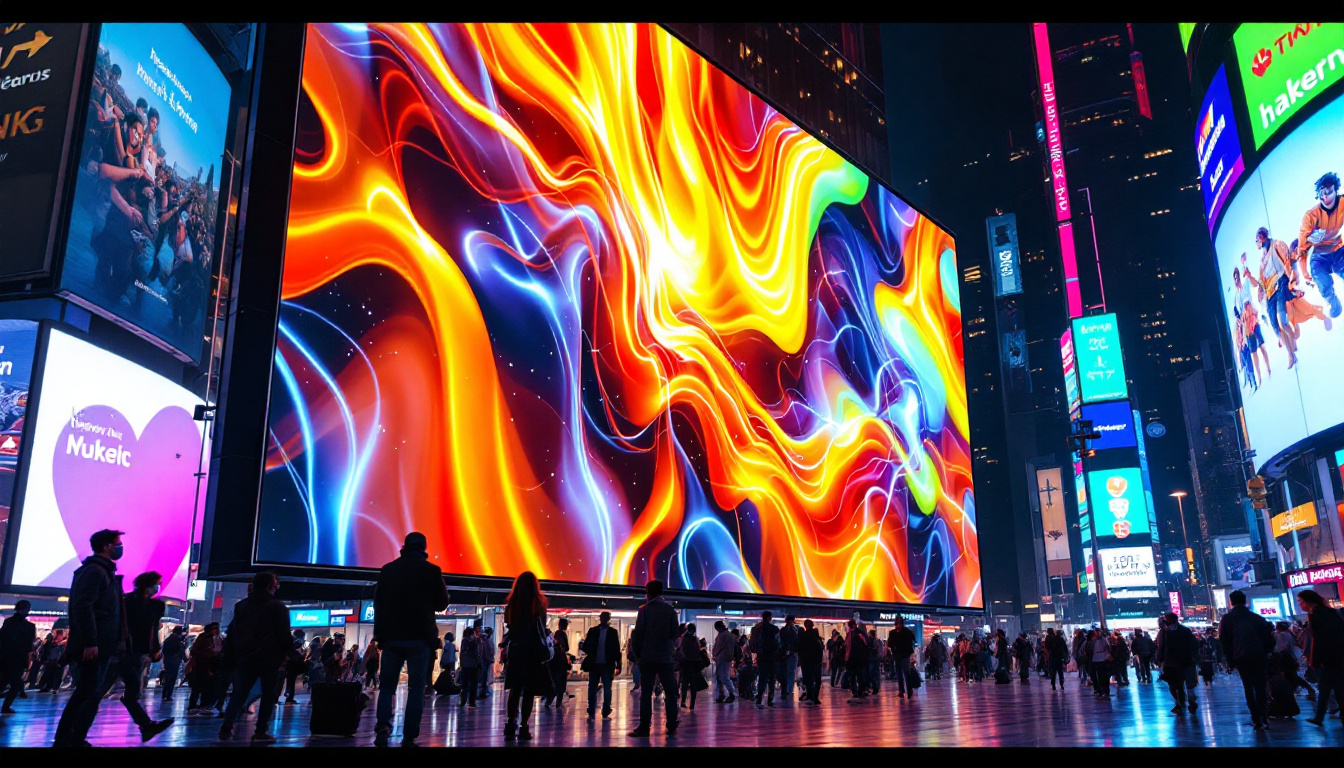
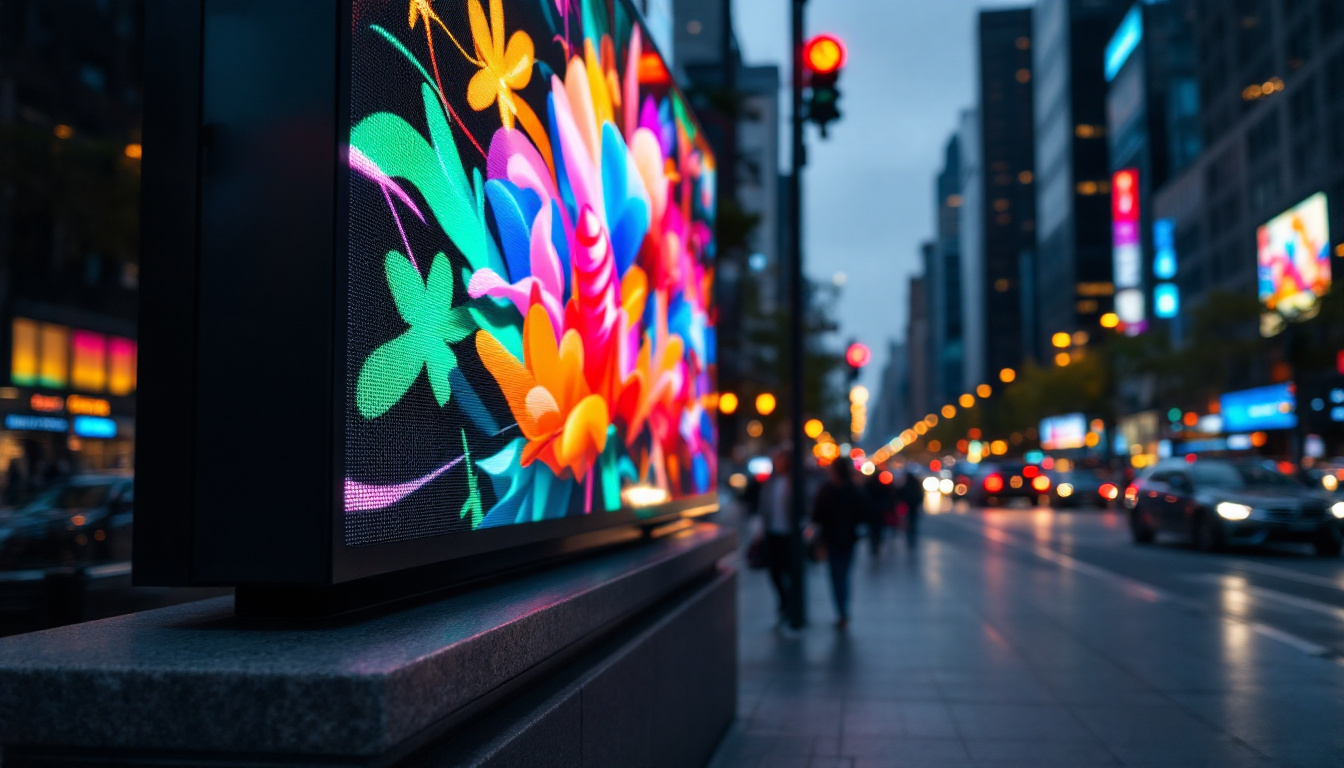
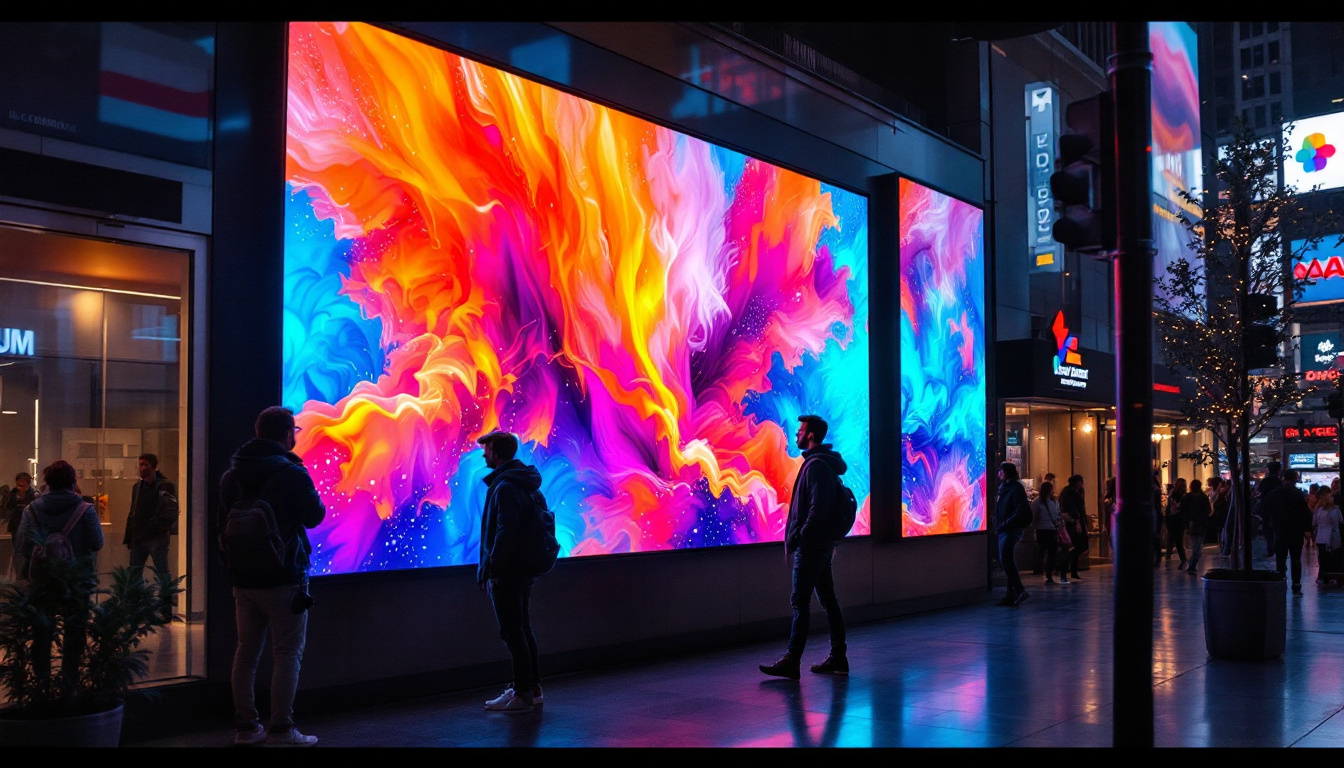
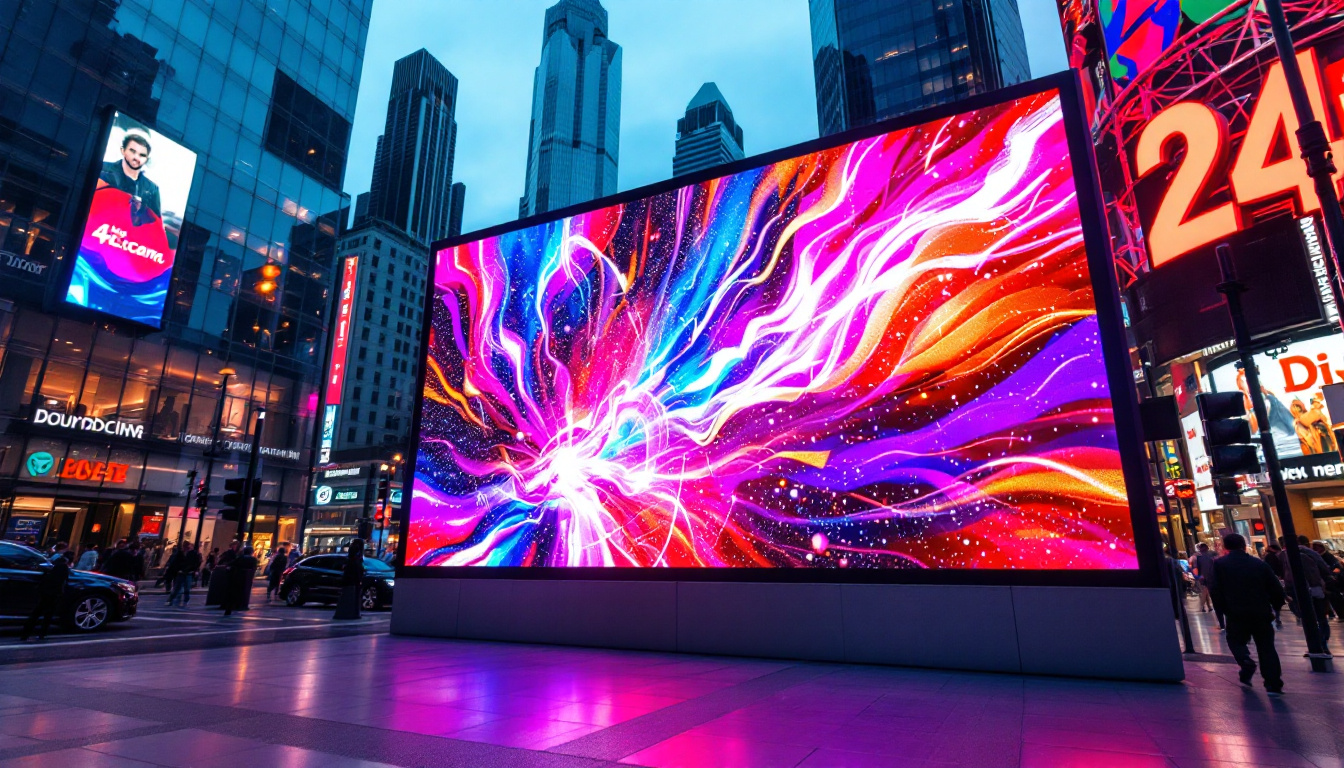
Moreover, LED displays provide superior brightness and contrast ratios, ensuring visibility even in bright environments. This makes them ideal for outdoor advertising and public information displays. The rapid response time of LEDs also allows for dynamic content, enabling the display of videos and animations that capture attention more effectively than static images. Furthermore, advancements in LED technology have led to the development of smart LED systems that can be integrated with IoT devices, allowing for real-time updates and remote management, enhancing their functionality in various applications such as smart cities and digital signage.
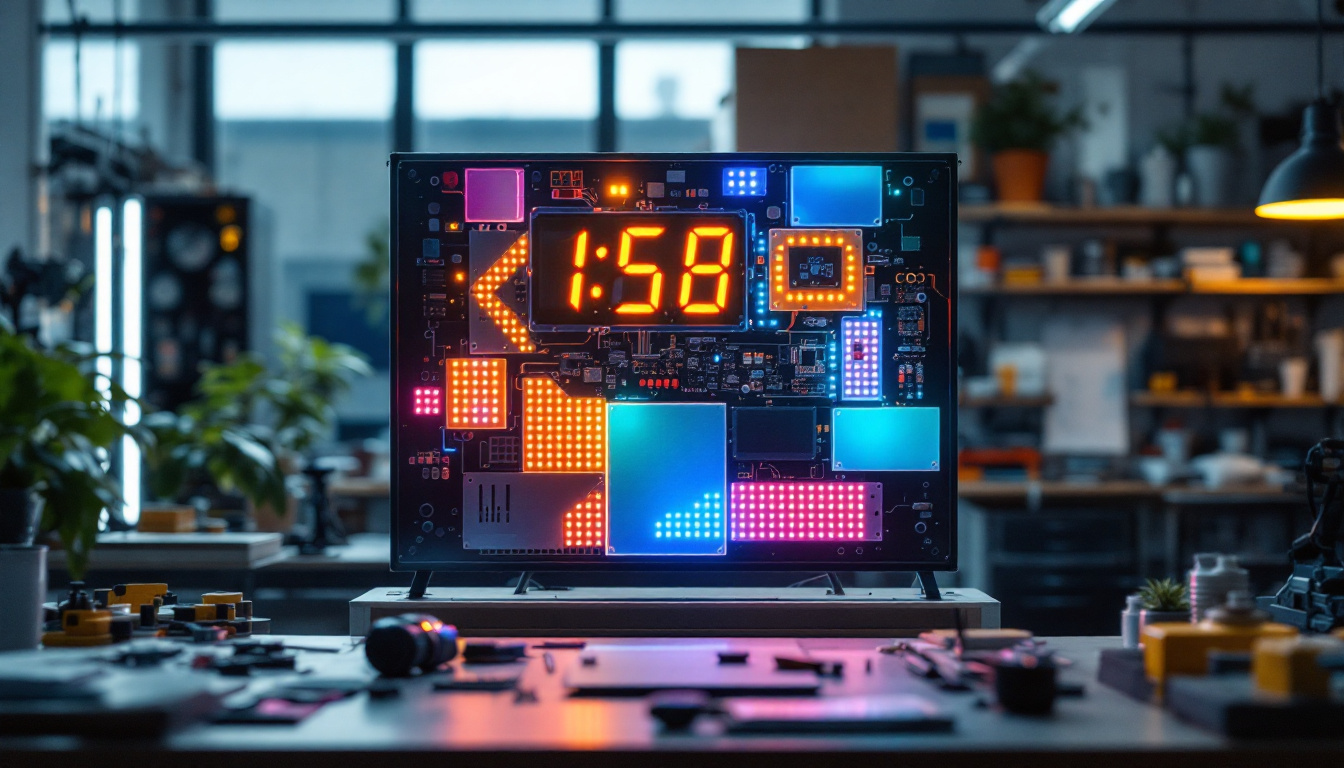
Components of a DIY LED Display
Creating a DIY LED display requires several key components, each playing a crucial role in the overall functionality of the screen. Understanding these components is essential for anyone looking to embark on this project.
LED Modules
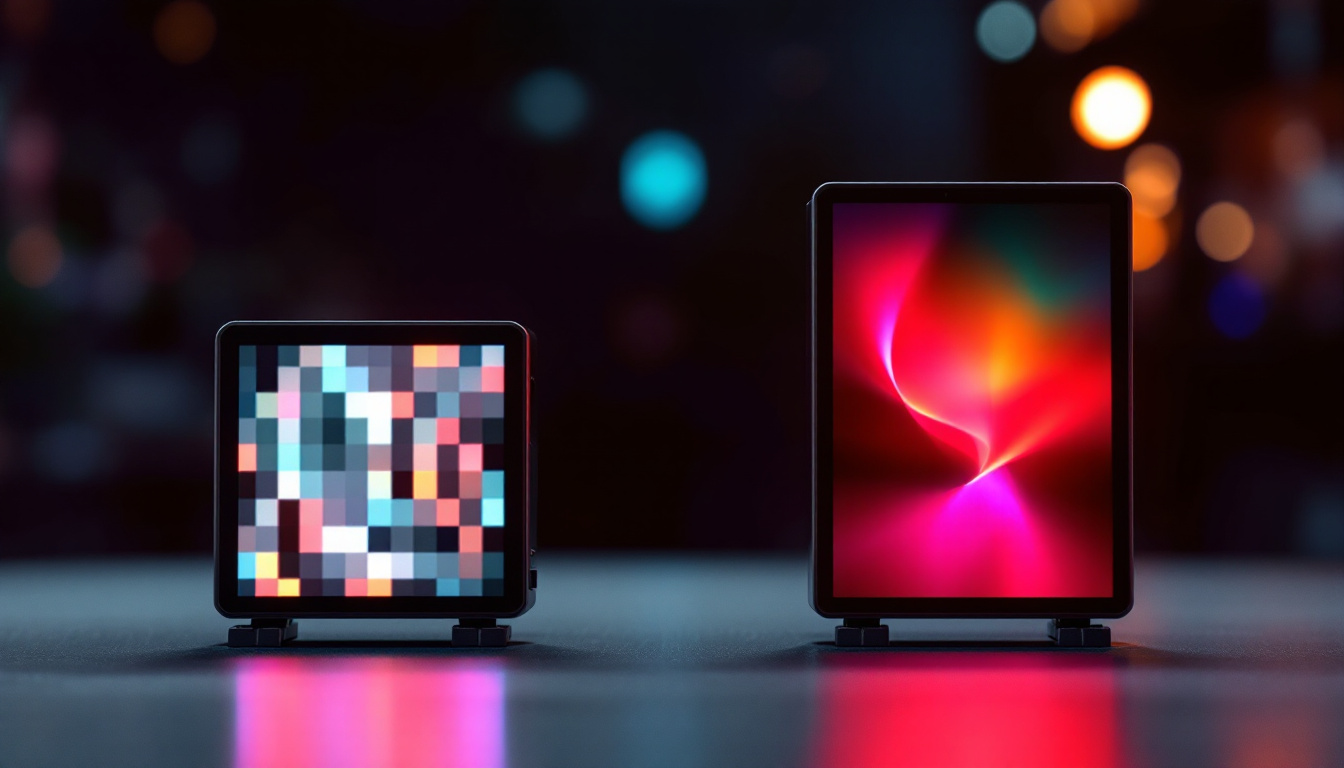
LED modules are the building blocks of an LED display. Each module contains multiple LEDs arranged in a grid pattern, which collectively form the display’s image. The size and resolution of the modules can vary, affecting the overall quality of the display.
When selecting LED modules, consider factors such as pixel pitch, which refers to the distance between the centers of two adjacent pixels. A smaller pixel pitch results in higher resolution and clearer images, while a larger pitch may suffice for less detailed applications.
Control System
The control system is the brain of the LED display, responsible for processing input signals and controlling the output of the LED modules. This system typically includes a microcontroller or microprocessor, which interprets data from a source such as a computer or media player.
Additionally, a driver circuit is necessary to convert the control signals into the appropriate voltage and current levels required to power the LEDs. Properly configuring the control system is vital for achieving the desired display effects and responsiveness.
Power Supply
A reliable power supply is essential for any LED display. LEDs require a specific voltage and current to operate effectively, and the power supply must be capable of delivering this consistently. It’s crucial to choose a power supply that matches the total power requirements of the display to avoid damage to the components.
Building Your DIY LED Display
Now that the components have been outlined, the next step is to assemble the LED display. This process can be broken down into several stages, each requiring careful attention to detail.
Step 1: Gather Materials
Before starting the assembly, gather all necessary materials, including LED modules, a control system, a power supply, connecting wires, and a suitable enclosure. Having everything on hand will streamline the building process and minimize interruptions.
Step 2: Assemble the LED Modules
Begin by connecting the LED modules according to the desired configuration. This may involve arranging them in a grid pattern or a more creative layout. Ensure that the connections are secure and that the modules are aligned properly to maintain a uniform appearance.
It is advisable to test each module individually before final assembly. This helps identify any faulty modules early in the process, saving time and effort later on.
Step 3: Connect the Control System
Once the LED modules are assembled, the next step is to connect the control system. This involves wiring the modules to the microcontroller and ensuring that the driver circuit is properly configured. Follow the manufacturer’s instructions for wiring to avoid any potential issues.
After connecting the control system, upload the necessary software or firmware to the microcontroller. This software will dictate how the display responds to input signals and manages the output to the LED modules.
Programming the LED Display
With the hardware assembled, the next phase involves programming the LED display. This step is crucial for defining how the display will behave and what content it will show.
Choosing Software
There are various software options available for programming LED displays, ranging from simple applications to more advanced platforms. The choice of software depends on the complexity of the content and the specific features desired.
Some popular options include open-source platforms that allow for custom programming, while others offer user-friendly interfaces for those less experienced with coding. Selecting the right software can significantly enhance the functionality of the display.
Creating Content
Content creation is a vital aspect of programming an LED display. This can range from static images and text to dynamic animations and videos. Depending on the software used, various tools may be available for designing and editing content.
When creating content, consider the display’s resolution and aspect ratio to ensure optimal viewing quality. Additionally, test the content on the display to make any necessary adjustments before finalizing it.
Testing and Calibration
After programming the content, it’s essential to test the display thoroughly. This involves checking for any visual inconsistencies, ensuring that colors are accurate and that animations run smoothly. Calibration may be necessary to adjust brightness and contrast levels for optimal viewing.
Regular testing and calibration are recommended, especially if the display will be used in varying lighting conditions or for extended periods. This ensures that the display remains functional and visually appealing over time.
Common Applications of DIY LED Displays
DIY LED displays can serve a multitude of purposes, catering to both personal and professional needs. Understanding the various applications can inspire creativity and innovation in their use.
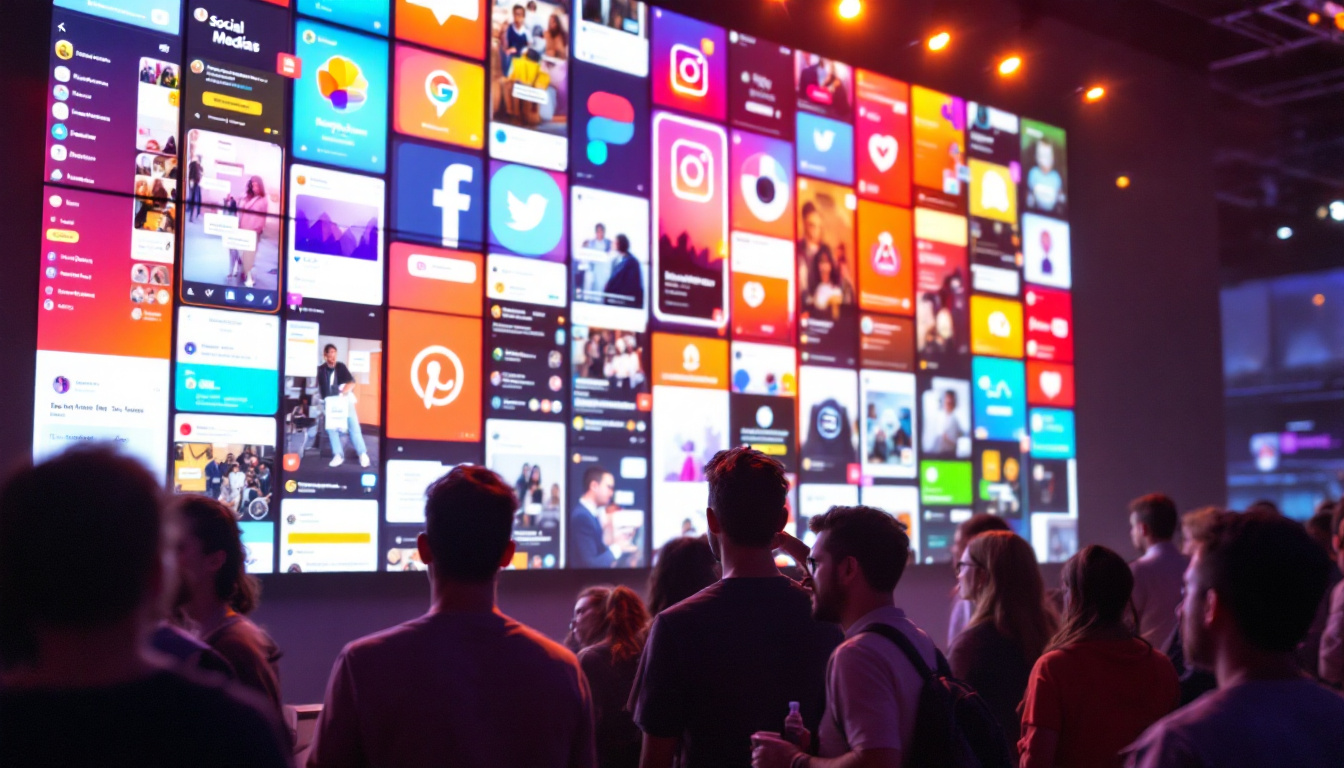
Advertising and Marketing
One of the most prominent applications of LED displays is in advertising and marketing. Businesses utilize LED screens to showcase promotions, events, and brand messages, capturing the attention of potential customers. The dynamic nature of LED displays allows for changing content, making them ideal for high-traffic areas.
DIY enthusiasts can create their own advertising displays for local businesses or personal projects, providing a unique and customizable solution for showcasing information.
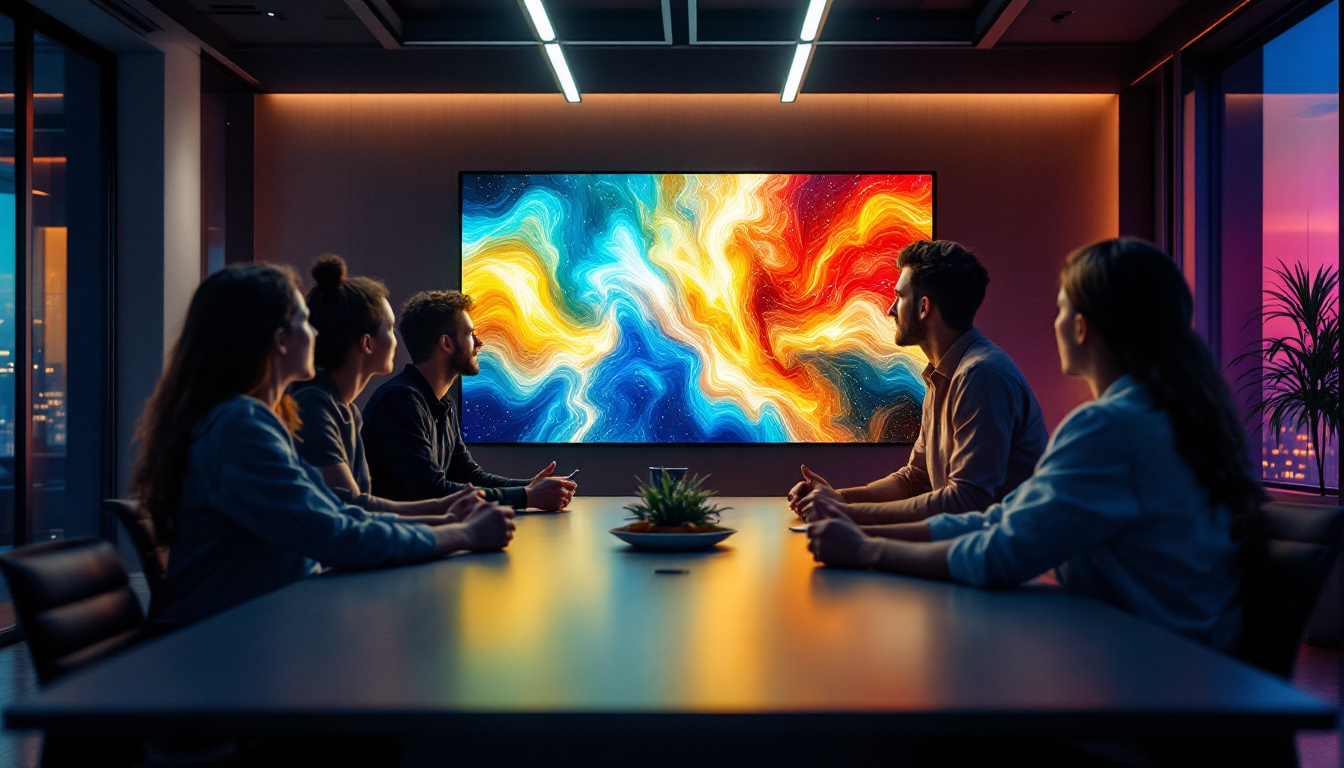
Artistic Installations
Artists and designers have embraced LED technology to create stunning visual installations. DIY LED displays can be programmed to produce captivating light shows, interactive art pieces, or immersive environments. This application allows for endless creativity and experimentation.
By combining LED displays with other materials and technologies, artists can push the boundaries of traditional art forms, engaging audiences in new and exciting ways.
Information and Signage
LED displays are widely used for information dissemination, such as public transportation schedules, event notifications, and wayfinding signage. DIY LED displays can be tailored to meet specific informational needs, making them valuable tools for community engagement.
Creating an LED display for a local event or organization can enhance communication and ensure that important information reaches the intended audience effectively.
Maintenance and Troubleshooting
Like any electronic device, LED displays require regular maintenance to ensure optimal performance. Understanding common issues and their solutions is essential for keeping a DIY LED display in top condition.
Regular Cleaning
Dust and debris can accumulate on the surface of LED displays, affecting visibility and performance. Regular cleaning is necessary to maintain clarity and brightness. Use a soft, lint-free cloth and a gentle cleaning solution to wipe down the display, avoiding harsh chemicals that could damage the components.
Identifying Common Issues
Common issues with LED displays include dead pixels, flickering, or uneven brightness. Dead pixels can occur due to faulty modules or connections, while flickering may indicate power supply issues. Identifying these problems early can prevent further damage and ensure a longer lifespan for the display.
For troubleshooting, it may be helpful to consult the manufacturer’s documentation or online forums for guidance. Many issues can be resolved with simple adjustments or replacements.
Upgrading Components
As technology advances, upgrading components of a DIY LED display may become necessary to enhance performance or functionality. This could involve replacing outdated modules with newer, more efficient ones or upgrading the control system for improved capabilities.
Consider the potential for future enhancements when initially designing the display, allowing for easier upgrades down the line.
Conclusion
Creating a DIY LED display screen is an exciting and rewarding project that combines technology, creativity, and innovation. By understanding the components, programming, and applications of LED displays, individuals can harness this technology for various purposes, from artistic endeavors to practical uses.
As LED technology continues to evolve, the possibilities for DIY displays will only expand. Embracing this technology can lead to unique creations that captivate audiences and enhance communication. With the right knowledge and tools, anyone can embark on the journey of building their own LED display screen.
Take Your LED Projects to the Next Level with LumenMatrix
Ready to transform your creative ideas into a stunning reality? LumenMatrix is at the forefront of LED display innovation, offering an extensive array of solutions tailored to your needs. From Indoor and Outdoor LED Wall Displays to specialized options like Vehicle, Sports, and Floor LED Displays, our products are designed to make your vision come alive. Dive into the world of Custom, All-in-One, and Transparent LED Displays to discover how you can enhance engagement and communicate with impact. Check out LumenMatrix LED Display Solutions today and start creating visual experiences that captivate and inspire.