Maintaining a clean computer screen is essential for optimal viewing and overall device longevity. Dust, fingerprints, and smudges can significantly impair visibility and lead to an unpleasant user experience. This guide will provide a comprehensive overview of how to clean an LED display effectively, ensuring that your screen remains in pristine condition.
Understanding LED Displays
Before diving into the cleaning process, it’s important to understand what an LED display is and how it functions. LED, or Light Emitting Diode, displays are a type of LCD screen that uses LEDs for backlighting. This technology offers vibrant colors, higher contrast ratios, and energy efficiency compared to traditional LCDs. The advancements in LED technology have revolutionized the way we view content, making it more immersive and enjoyable. With their ability to produce a wider color gamut, LED displays are particularly favored in environments where color accuracy is paramount, such as graphic design studios and photography editing.
Types of LED Displays
There are several types of LED displays, including:
- Edge-lit LED: LEDs are placed around the edges of the screen, providing backlighting to the LCD panel. This design allows for thinner screens, making them a popular choice for modern televisions and monitors.
- Direct-lit LED: LEDs are placed directly behind the screen, offering more uniform brightness and better color accuracy. This type is often used in larger displays where consistent lighting is crucial for an optimal viewing experience.
- OLED: Organic LEDs emit their own light and do not require a backlight, resulting in deeper blacks and more vibrant colors. OLED technology is particularly sought after for high-end televisions and mobile devices, as it provides superior contrast ratios and viewing angles.
Understanding these differences can help in choosing the right cleaning method, as some displays may be more sensitive to certain cleaning solutions than others. For instance, OLED screens can be more susceptible to damage from harsh chemicals, necessitating a gentler approach to maintenance. Additionally, knowing the type of display can guide users in selecting appropriate cleaning tools, such as microfiber cloths that are less likely to scratch the surface.
Why Cleaning is Important
A clean screen not only enhances the visual experience but also contributes to the longevity of the device. Dust and grime can accumulate over time, potentially leading to overheating issues or affecting the screen’s performance. Regular cleaning can prevent these problems and ensure that the display remains in optimal condition. Moreover, a clean display can significantly improve the viewing experience, as smudges and fingerprints can distort colors and reduce clarity, making it difficult to enjoy movies, games, or presentations.
In addition to aesthetic benefits, maintaining a clean LED display can also have health implications. Dust particles and allergens can accumulate on screens, which may contribute to respiratory issues or allergies when disturbed. By incorporating a regular cleaning routine, users can not only preserve the integrity of their devices but also create a healthier environment. This is particularly important in shared spaces, such as offices or classrooms, where multiple individuals interact with the same equipment. Taking the time to clean screens regularly fosters a more pleasant and productive atmosphere for everyone involved.
Gathering the Right Cleaning Supplies
Before starting the cleaning process, it is crucial to gather the necessary supplies. Using the right materials will help avoid damage to the screen while ensuring effective cleaning. A well-prepared cleaning kit not only enhances the effectiveness of your cleaning efforts but also contributes to the longevity of your device. Taking the time to gather these supplies beforehand can make the entire process smoother and more efficient.
Essential Cleaning Supplies
The following items are recommended for cleaning an LED display:
- Microfiber cloth: Soft, lint-free cloths are ideal for cleaning screens without scratching the surface. These cloths are designed to trap dust and oil, making them perfect for a thorough clean without the risk of damage.
- Distilled water: Tap water can contain minerals that leave streaks or residue; distilled water is a safer option. Using distilled water not only prevents streaking but also helps maintain the clarity of the display over time.
- Screen cleaner solution: If necessary, use a cleaner specifically designed for electronics, ensuring it is ammonia-free. These specialized solutions are formulated to break down grime and fingerprints without harming the delicate components of your screen.
Avoiding Harmful Materials
It’s important to avoid certain materials that can damage the screen. Never use paper towels, rough fabrics, or any cleaning products containing alcohol, ammonia, or strong solvents. These can strip away the screen’s protective coating and lead to permanent damage. Additionally, using abrasive materials can create micro-scratches that may not be immediately visible but can accumulate over time, resulting in a dull appearance and decreased visibility.
When selecting your cleaning supplies, consider the environment in which your device is used. For instance, if your screen is frequently exposed to dust or pet hair, you might want to include a small handheld vacuum or a soft brush to remove debris before wiping down the screen. Furthermore, if you have multiple devices, it may be beneficial to invest in a dedicated cleaning kit for each to avoid cross-contamination of dirt and oils. This proactive approach not only keeps your screens clean but also enhances your overall viewing experience, allowing you to enjoy your favorite shows and games without distraction.
Step-by-Step Cleaning Process
Now that the necessary supplies are on hand, it’s time to move on to the cleaning process. Following the steps outlined below will help ensure a thorough and safe cleaning of your LED display. Regular maintenance not only enhances the visual clarity of your screen but also prolongs its lifespan, making it an essential part of device care.
Step 1: Power Down and Unplug
Before cleaning, always power down the computer and unplug it from the electrical outlet. This not only protects the device but also allows for better visibility of dirt and smudges on the screen. Additionally, powering down your device can help avoid any accidental inputs during the cleaning process, ensuring a safer experience. It’s also a good practice to wait a few minutes after shutting down to allow the screen to cool down, as cleaning a hot surface can lead to damage.
Step 2: Dusting the Screen
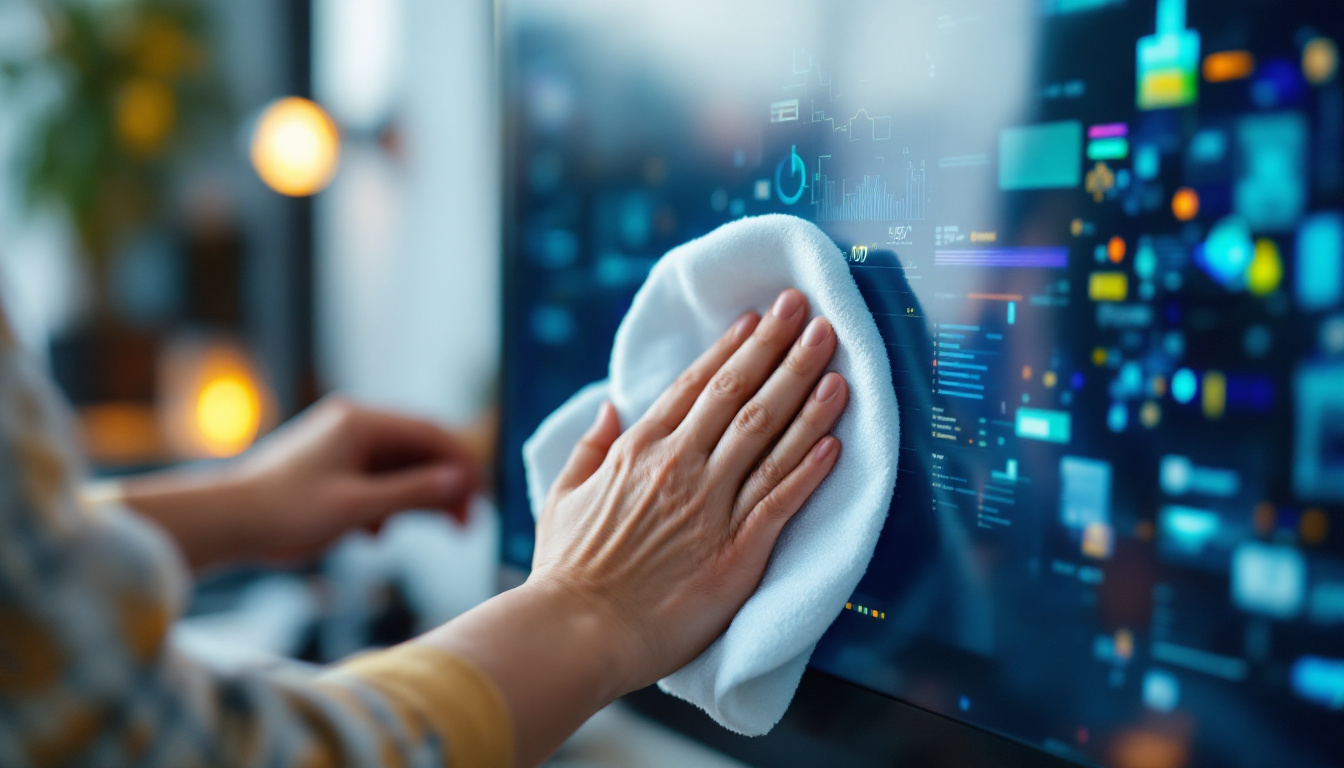
Using a dry microfiber cloth, gently wipe the screen in a circular motion to remove any loose dust and debris. This initial dusting step is crucial as it prevents scratching the screen during the wet cleaning process. Microfiber cloths are specifically designed to trap dust and particles without leaving lint behind, making them ideal for this task. For those hard-to-reach corners or edges, consider using a soft brush or a compressed air canister to dislodge any stubborn dust that may have settled.
Step 3: Preparing the Cleaning Solution
If using a cleaning solution, mix equal parts of distilled water and the screen cleaner in a spray bottle. If you prefer a more natural approach, simply use distilled water. Avoid spraying the solution directly onto the screen; instead, lightly mist the microfiber cloth. This method minimizes the risk of moisture seeping into the device’s edges or connectors, which can cause internal damage. Always check the manufacturer’s guidelines for any specific recommendations regarding cleaning solutions, as some screens may have special coatings that require particular care.
Step 4: Wiping the Screen
With the dampened microfiber cloth, gently wipe the screen in a circular motion. Start from the top and work your way down to avoid streaks. Be cautious not to apply too much pressure, as this can damage the screen. For particularly stubborn spots, allow the cloth to sit on the area for a few seconds to loosen the grime before wiping. It’s also advisable to change the cleaning cloth if it becomes too dirty, as using a soiled cloth can reintroduce scratches and smudges.
Step 5: Drying the Screen
After cleaning, use a dry section of the microfiber cloth to gently buff the screen, removing any remaining moisture. This step is essential to prevent streaks and ensure a clear view. For optimal results, consider using a separate clean cloth specifically for drying. Additionally, allowing the screen to air dry for a few minutes can help eliminate any lingering moisture, ensuring that your display is not only clean but also safe to power back on. Regularly cleaning your screen can also enhance your viewing experience, making colors appear more vibrant and details sharper.
Additional Tips for Maintaining Your Screen
In addition to regular cleaning, there are several practices that can help maintain the condition of your LED display over time.
Regular Cleaning Schedule
Establishing a regular cleaning schedule can help keep your screen in top condition. Depending on usage, cleaning once every few weeks may be sufficient. For environments with higher dust levels or frequent use, more regular cleaning may be necessary.
Protective Measures
Consider using a screen protector to shield the display from scratches and smudges. Additionally, keeping the workspace clean and free of dust can reduce the amount of debris that settles on the screen.
Mindful Usage
Be mindful of how the computer is used. Eating or drinking near the device can lead to accidental spills, while touching the screen with dirty hands can transfer oils and grime. Encouraging good habits can significantly reduce the need for frequent cleaning.
Common Mistakes to Avoid
While cleaning a computer screen may seem straightforward, there are common mistakes that can lead to damage or ineffective cleaning.
Using the Wrong Cloth
As mentioned earlier, using rough fabrics or paper towels can scratch the screen. Always opt for a microfiber cloth designed for electronics to ensure a safe cleaning process.
Overusing Cleaning Solutions
Applying too much cleaning solution can lead to moisture seeping into the edges of the screen, potentially causing damage. A light mist on the cloth is all that is needed for effective cleaning.
Ignoring Manufacturer Guidelines
Different manufacturers may have specific recommendations for cleaning their products. Always refer to the user manual or the manufacturer’s website for guidance on the best cleaning practices for your particular device.
Conclusion
Cleaning an LED display is a straightforward process that can greatly enhance the user experience and prolong the life of the device. By understanding the technology behind LED displays, gathering the right supplies, and following a systematic cleaning approach, users can maintain a clear and vibrant screen.
Regular cleaning and mindful usage can prevent the buildup of dust and grime, ensuring that the screen remains in optimal condition. Avoiding common mistakes and adhering to manufacturer guidelines will further protect the display from potential damage.
With these tips and techniques, maintaining a clean computer screen becomes an easy and rewarding task, allowing users to enjoy their devices to the fullest.
Discover LumenMatrix’s Advanced LED Display Solutions
Now that you know how to keep your LED display in pristine condition, take the next step in visual excellence with LumenMatrix. As a pioneer in LED display technology, LumenMatrix offers a wide array of innovative solutions, from Indoor and Outdoor LED Wall Displays to specialized options like Vehicle LED Displays and Custom LED Displays. Elevate your brand’s presence and captivate your audience with our state-of-the-art LED display modules. Experience the future of visual communication and enhance your engagement with LumenMatrix’s LED display solutions. Check out LumenMatrix LED Display Solutions today and see the difference for yourself.

