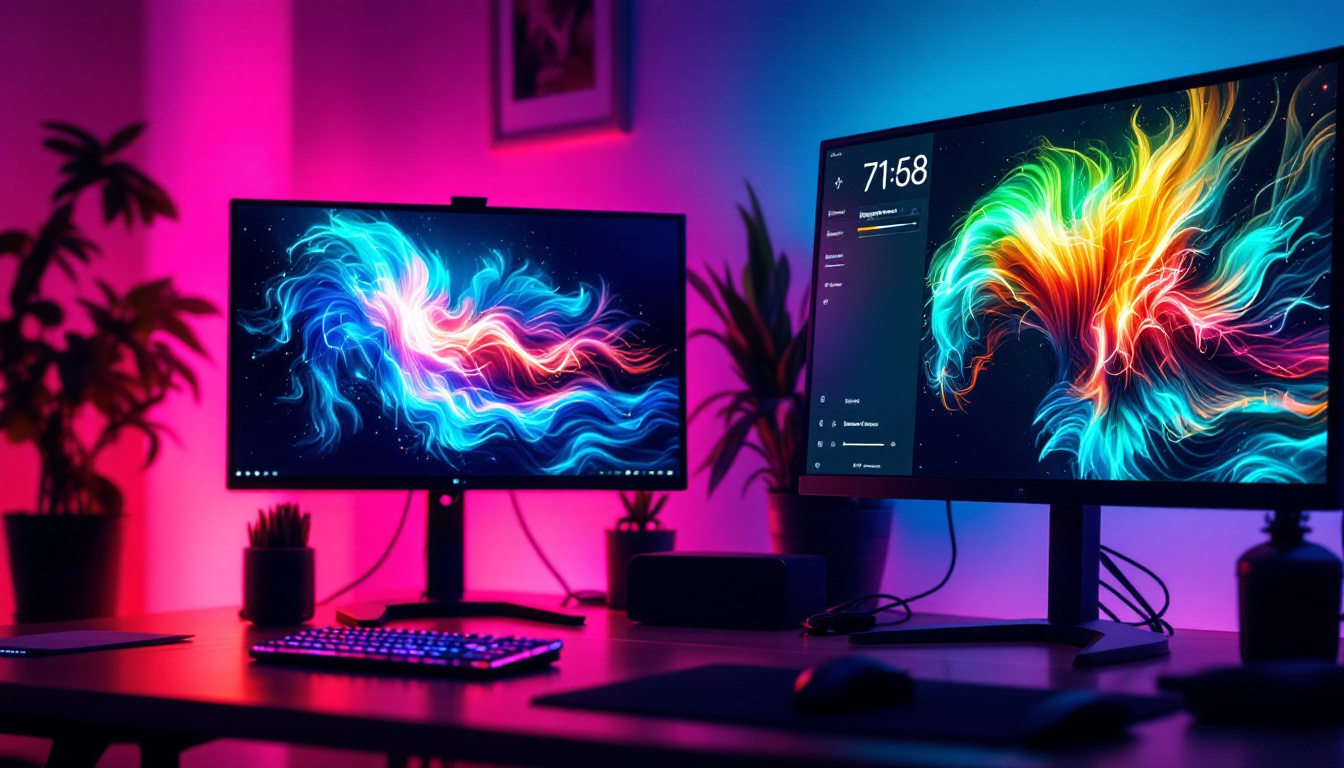
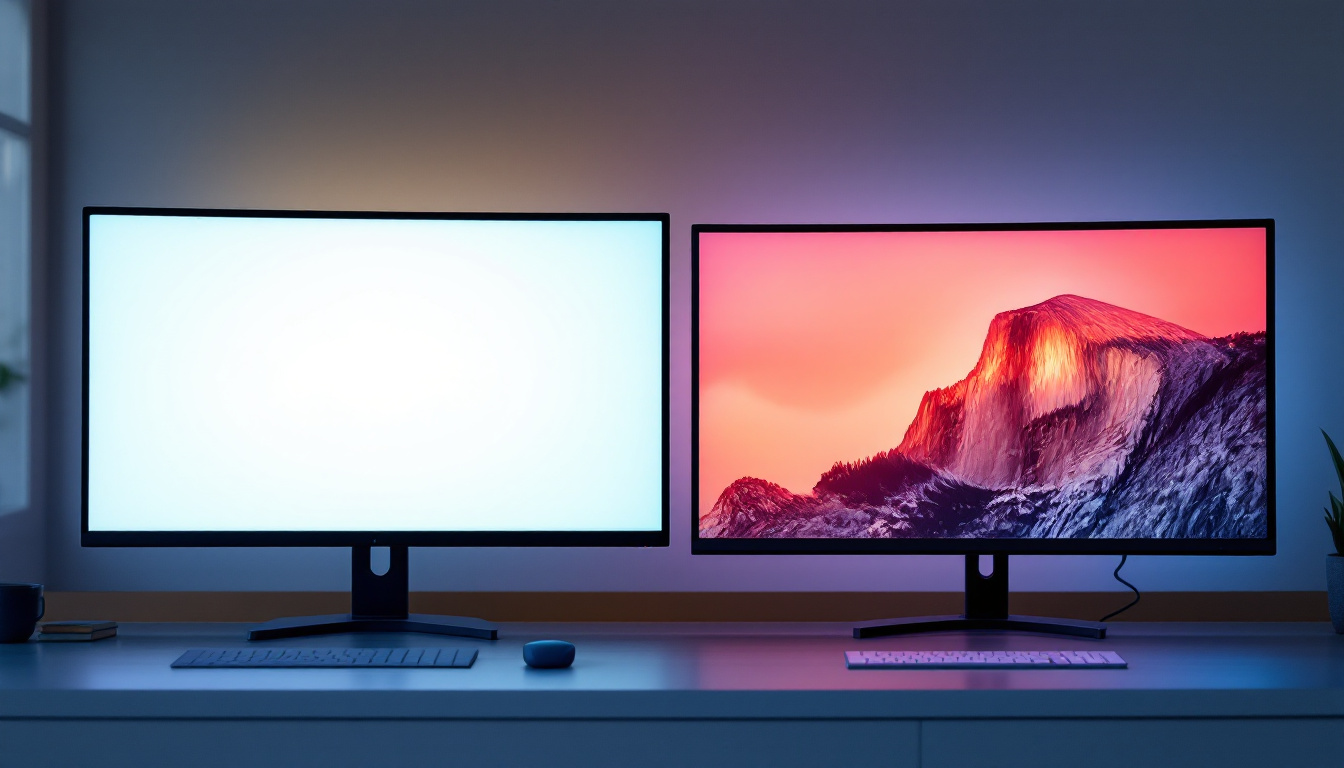
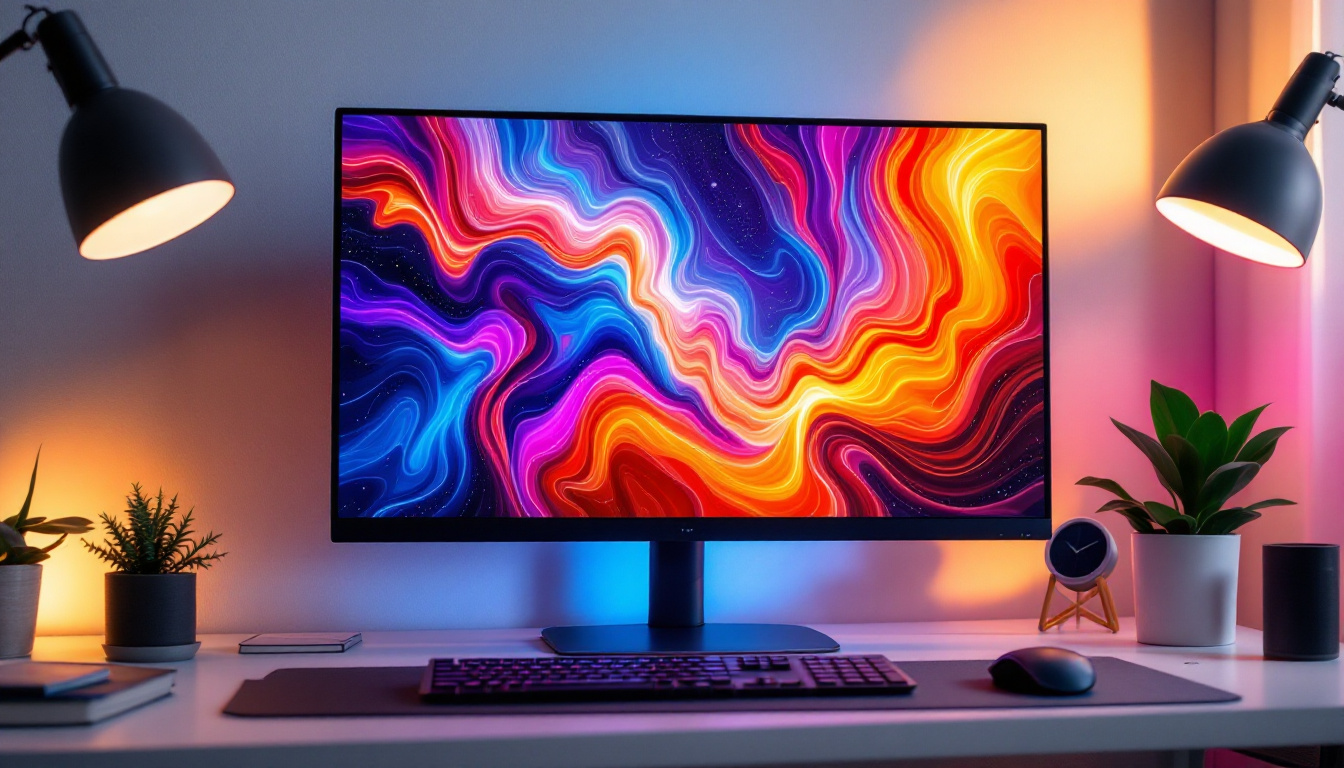
Adjusting the brightness on a second monitor can significantly enhance the viewing experience, especially when working in environments with varying lighting conditions. Whether you’re using a second monitor for gaming, graphic design, or productivity, understanding how to manage brightness settings is crucial. This guide will explore the various methods to change brightness on LED displays, ensuring that your dual-monitor setup is comfortable and efficient.
Understanding LED Displays
LED (Light Emitting Diode) displays have become the standard for modern monitors due to their energy efficiency and superior image quality. Unlike traditional LCDs, which use fluorescent backlighting, LED displays utilize small diodes to produce light, resulting in brighter images and deeper blacks. This technology not only enhances the visual experience but also contributes to lower energy consumption, making it an environmentally friendly choice for consumers and businesses alike.
These displays come in various types, including edge-lit and full-array, each offering different advantages in terms of brightness and color accuracy. Understanding the technology behind your monitor can help you make informed decisions about adjusting its settings. For example, knowing how the display type affects color reproduction can be crucial for tasks such as photo editing or gaming, where precision is key.
Types of LED Displays
There are primarily two types of LED displays: edge-lit and full-array. Edge-lit displays have LEDs positioned along the edges of the screen, which can create a slimmer profile but may lead to uneven brightness. In contrast, full-array displays have LEDs distributed across the entire screen, providing more uniform brightness and better contrast. This uniformity is particularly beneficial in dark scenes, where full-array technology can enhance detail and depth, making the viewing experience more immersive.
Choosing the right type of display for your needs can impact how you adjust brightness and overall viewing experience. For instance, full-array displays are often preferred for graphic design due to their superior color accuracy and brightness control. Additionally, many modern full-array LED displays come equipped with local dimming features, which allow specific zones of the screen to dim or brighten independently. This capability not only improves contrast ratios but also enhances the overall dynamic range of the images displayed, making them appear more lifelike. As technology continues to evolve, the advancements in LED display capabilities are set to redefine how we interact with visual media, further blurring the lines between reality and digital representation.
Methods to Change Brightness on Your Second Monitor
There are several ways to adjust the brightness of a second monitor, depending on the operating system and the specific monitor model. Below are the most common methods used to change brightness settings.
Using Monitor Buttons
Most monitors come with physical buttons or an on-screen display (OSD) menu that allows users to adjust brightness directly. To access this feature, locate the buttons usually found on the bottom or side of the monitor. Press the button to bring up the OSD menu, navigate to the brightness settings, and adjust accordingly.
This method is straightforward and does not require any software or additional tools. However, the exact steps can vary by manufacturer, so consulting the user manual may be necessary for specific instructions. In addition to brightness, the OSD menu often includes options for contrast, color temperature, and other display settings, allowing users to fine-tune their viewing experience to suit their preferences or the ambient lighting conditions in the room.
Adjusting Brightness via Windows Settings
For users operating on Windows, adjusting brightness settings is relatively simple. Follow these steps:
- Right-click on the desktop and select Display settings.
- Scroll down to the Multiple displays section and select the second monitor.
- Under the Brightness and color section, adjust the brightness slider to your preference.
This method is effective for most users, but it is important to note that not all monitors support brightness adjustments through Windows settings. If the option is unavailable, consider the other methods outlined in this article. Additionally, users can also explore advanced settings such as Night Light, which adjusts the color temperature to reduce eye strain during evening hours, providing a more comfortable viewing experience.
Using MacOS Brightness Controls
For Mac users, adjusting the brightness of a second monitor is also straightforward. Here’s how:
- Click on the Apple menu and select System Preferences.
- Choose Displays, then select the second monitor.
- Adjust the brightness slider as desired.
MacOS typically provides seamless integration with external displays, making it easy to manage brightness and other settings. However, some third-party monitors may require additional software to enable full functionality. Furthermore, users can take advantage of features like True Tone, which automatically adjusts the display’s color and intensity based on the surrounding light, enhancing visual comfort and accuracy. This is particularly useful for creative professionals who need precise color representation in their work.
Third-Party Software Solutions
If the built-in options do not meet your needs, several third-party software solutions can help manage brightness on your second monitor. These applications often provide more granular control over display settings, allowing users to tailor their visual experience to their specific requirements.
DisplayFusion
DisplayFusion is a popular tool for managing multiple monitors. It offers a range of features, including the ability to adjust brightness, contrast, and color settings for each monitor individually. Users can also create profiles for different tasks, making it easy to switch settings based on the activity at hand. This is particularly useful for professionals who may need different settings for graphic design, gaming, or general office work, ensuring that each task is performed under optimal visual conditions.
With its user-friendly interface, DisplayFusion is an excellent choice for those who require advanced control over their display settings. It is compatible with both Windows and MacOS, providing a versatile solution for various users. Additionally, DisplayFusion supports multi-monitor taskbars, allowing users to manage their applications across screens seamlessly. This enhances productivity, as users can easily access their tools and documents without the hassle of switching between monitors constantly.
f.lux
f.lux is another tool that adjusts screen brightness based on the time of day, reducing eye strain during night-time use. While its primary function is to change color temperature, it also allows users to adjust brightness levels for each monitor. This can be particularly beneficial for those who work late into the night or in low-light environments, as it helps to minimize the harshness of bright screens in dark settings.
By automatically adjusting brightness and color temperature, f.lux helps create a more comfortable viewing experience, promoting better sleep patterns and reducing fatigue. The software also includes a “darkroom mode,” which dims the screen to a very low brightness level, making it easier to work in complete darkness without straining your eyes. Furthermore, f.lux can be customized to suit individual preferences, allowing users to set specific brightness levels and color temperatures for different times of the day, ensuring that their screens are always comfortable to look at, regardless of the lighting conditions.
Calibrating Your Monitor for Optimal Brightness
Simply adjusting brightness may not be enough for those who require precise color accuracy, such as graphic designers or photographers. Calibration is essential to ensure that the monitor displays colors and brightness levels accurately.
Using Built-in Calibration Tools
Many operating systems come with built-in calibration tools that guide users through the process of adjusting brightness, contrast, and color settings. For Windows, the calibration tool can be accessed through the Control Panel under Display settings. Similarly, MacOS users can find calibration options in the Displays section of System Preferences.
These tools typically provide step-by-step instructions, allowing users to compare their current settings against a reference image to achieve optimal results. Calibration should be done regularly to maintain color accuracy, especially if the monitor is used for professional work.
Using External Calibration Devices
For those seeking the highest level of accuracy, external calibration devices, such as colorimeters, can be used. These devices measure the color output of the monitor and provide feedback on how to adjust settings for optimal performance.
While this method requires an initial investment in equipment, it can be invaluable for professionals who rely on precise color representation. Many devices come with accompanying software that simplifies the calibration process, making it accessible even for those with limited technical knowledge.
Common Issues and Troubleshooting
Despite the various methods available for adjusting brightness on a second monitor, users may encounter issues. Here are some common problems and solutions.
Brightness Slider Not Available
One common issue is the brightness slider being grayed out or unavailable in the operating system settings. This can occur if the monitor does not support brightness adjustments via software. In such cases, using the monitor’s physical buttons or OSD menu is the best alternative.
Additionally, ensuring that the latest drivers for the graphics card are installed can resolve compatibility issues. Regular updates can enhance performance and provide better support for external monitors.
Inconsistent Brightness Across Monitors
When using multiple monitors, users may notice discrepancies in brightness levels. This can be due to differences in monitor technology or settings. To address this, it is advisable to calibrate each monitor individually, ensuring that they are set to similar brightness and color profiles.
Using tools like DisplayFusion can also help synchronize settings across multiple displays, providing a more consistent viewing experience.
Conclusion
Adjusting the brightness on a second monitor is a vital aspect of optimizing your workspace for comfort and productivity. Whether through built-in settings, physical buttons, or third-party software, there are numerous ways to achieve the desired brightness level. Understanding the technology behind LED displays and utilizing calibration tools can further enhance the viewing experience, especially for professionals requiring color accuracy.
By following the methods outlined in this guide, users can ensure that their dual-monitor setups are not only functional but also tailored to their specific needs. Regular adjustments and calibration will lead to a more enjoyable and productive computing experience.
Explore Cutting-Edge LED Display Solutions
Now that you understand the importance of adjusting brightness for an optimal viewing experience, take your visual setup to the next level with LumenMatrix. As a leader in LED display technology, LumenMatrix offers a wide array of innovative solutions, from Indoor and Outdoor LED Wall Displays to specialized options like Vehicle LED Displays and LED Sports Displays. Whether you’re looking to enhance brand visibility or create a captivating visual experience, LumenMatrix has the perfect LED display module for your needs. Don’t settle for less—check out LumenMatrix LED Display Solutions today and revolutionize the way you communicate visually.

