In the world of architectural design and building information modeling (BIM), Revit stands out as a powerful tool for professionals. One of the key features that enhances the functionality of Revit is the ability to manipulate the plane of section. This capability is particularly useful when working with complex designs, such as LED displays. Understanding how to flip the plane of section can significantly improve the clarity and effectiveness of your presentations. This article will guide you through the process and explain its relevance in the context of LED displays.
Understanding the Plane of Section
The plane of section in Revit refers to the imaginary plane that slices through a 3D model to create a 2D representation. This is crucial for visualizing and analyzing different aspects of a design. By adjusting the plane of section, architects and designers can highlight specific elements, ensuring that stakeholders can easily grasp the intended design. The ability to manipulate this plane allows for a more dynamic exploration of the model, enabling users to focus on particular areas of interest or concern, whether it be structural integrity, aesthetic appeal, or functional layout.
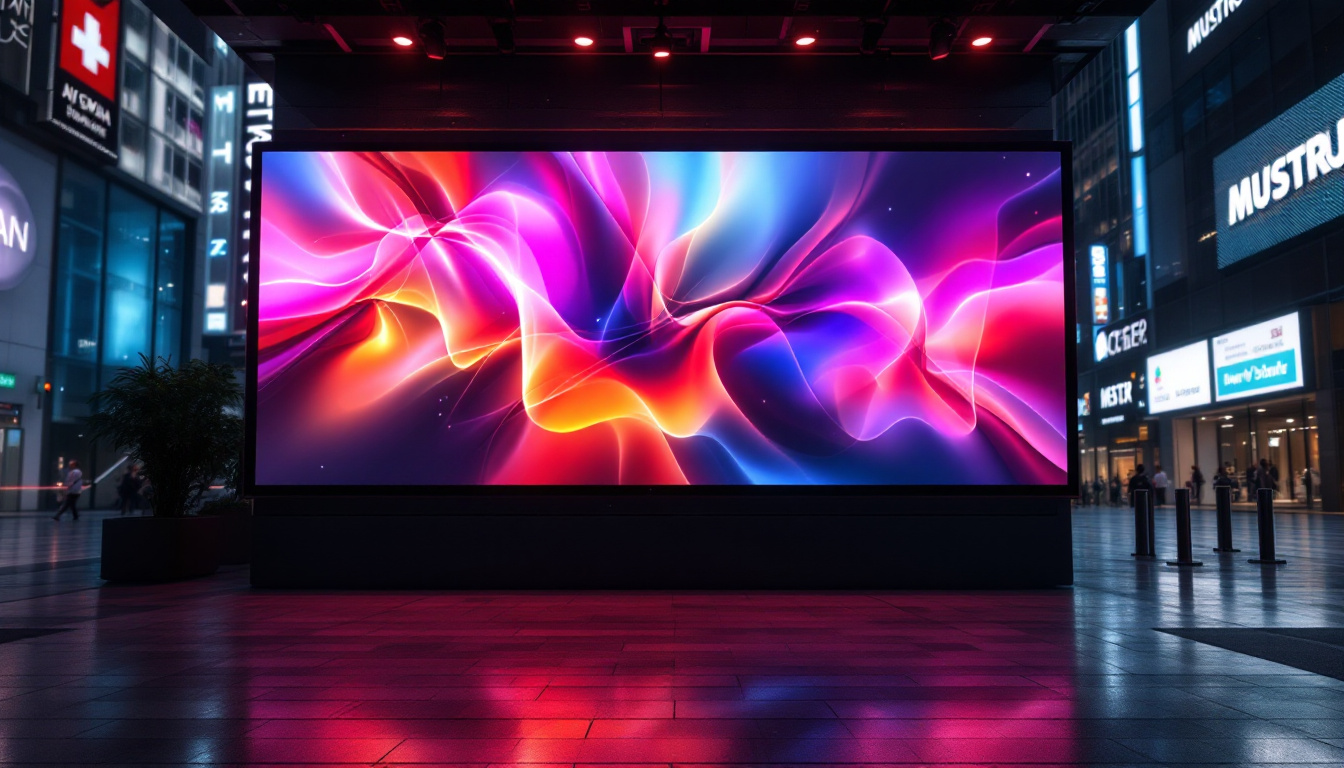
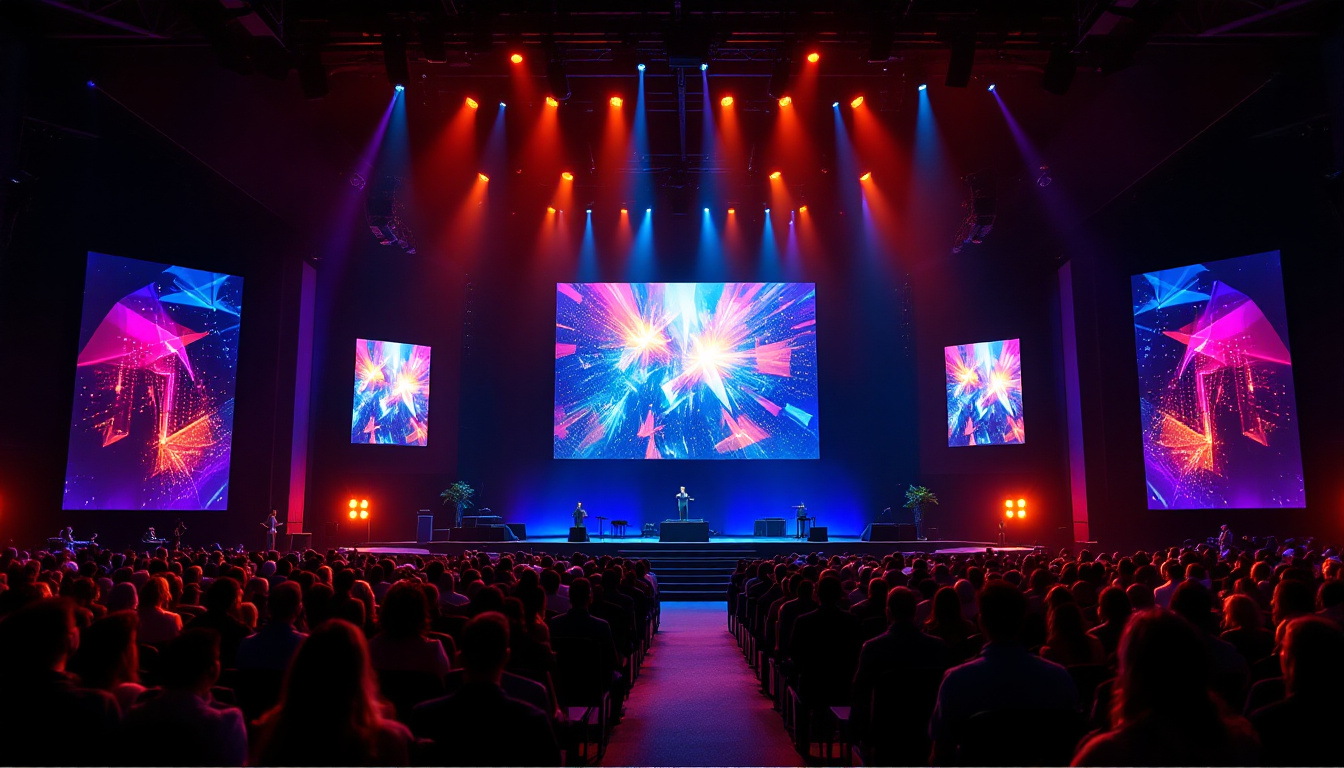
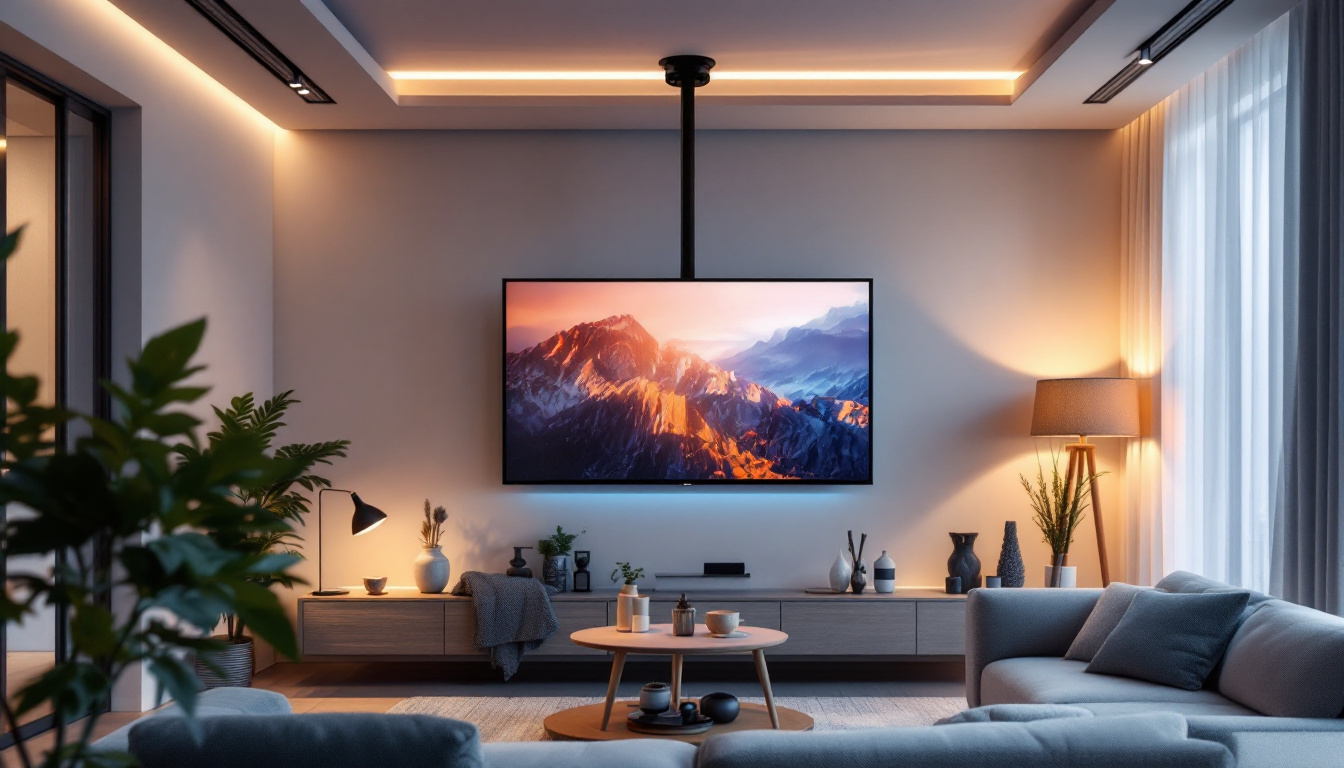
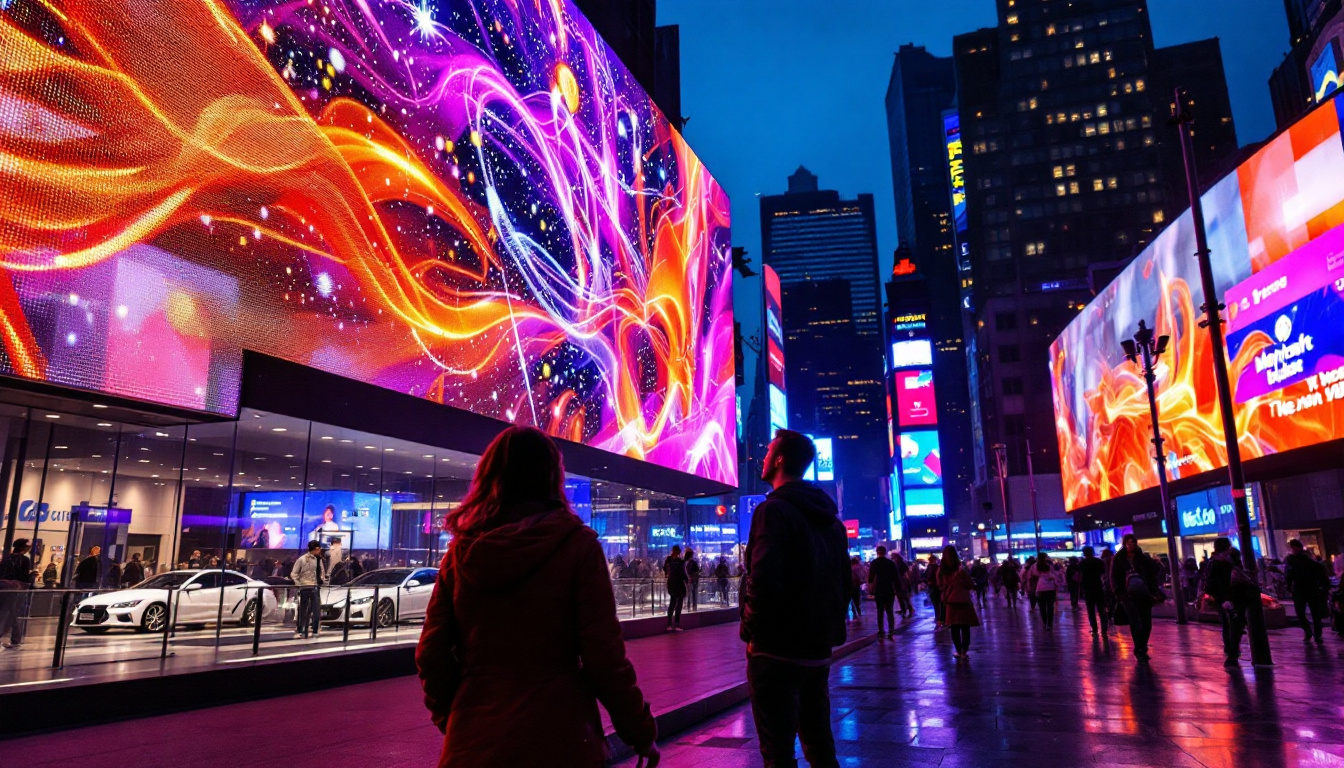
When dealing with LED displays, the plane of section becomes even more critical. These displays often involve intricate designs and require precise alignment and positioning. Flipping the plane of section allows designers to view the model from different angles, making it easier to assess how the LED display will fit into the overall architectural context. Furthermore, understanding the interaction between the display and its environment can significantly influence the effectiveness of the visual communication it is meant to convey, ensuring that the display captures attention while harmonizing with the surrounding architecture.
Why Flip the Plane of Section?
Flipping the plane of section can serve several purposes. Firstly, it helps in revealing hidden elements that may not be visible from the current viewpoint. This is particularly useful when dealing with layered designs, where certain components may overlap or obscure others. By exposing these hidden layers, designers can make informed decisions about material selection, color schemes, and lighting, all of which play a vital role in the overall impact of the design.
Secondly, flipping the plane can aid in better understanding the spatial relationships between various elements. For instance, when designing an LED display, it is essential to see how it interacts with surrounding structures, lighting, and viewer perspectives. A flipped section can provide insights that might be missed in a standard view. This enhanced perspective can help identify potential issues such as glare from natural light sources or obstructions that could hinder visibility, allowing for adjustments that enhance both functionality and aesthetics.
Common Challenges
While flipping the plane of section is a straightforward process, it can present challenges. One common issue is ensuring that the section aligns correctly with the intended design elements. If not done properly, it can lead to misinterpretations of the model. This misalignment can result in costly revisions later in the design process, making it essential for designers to double-check their work and utilize Revit’s tools effectively to maintain accuracy.
Another challenge is managing the visibility settings within Revit. When the plane is flipped, certain elements may become hidden or appear differently than expected. Understanding how to adjust these settings is crucial for achieving the desired outcome. Additionally, users must be adept at using filters and view templates to ensure that the most relevant information is displayed clearly, allowing for a comprehensive analysis of the design. Mastering these tools can significantly enhance a designer’s efficiency and the quality of the final presentation.
Step-by-Step Guide to Flipping the Plane of Section
To effectively flip the plane of section in Revit, follow these steps:
1. Accessing the Section View
Start by navigating to the view where you want to flip the section. This could be a floor plan, elevation, or 3D view. Once you are in the correct view, locate the section line that you want to modify. This line represents the plane of section.
Click on the section line to select it. You will notice handles appear at both ends of the line, allowing you to manipulate its orientation. This is the first step in flipping the plane of section.
2. Flipping the Section
With the section line selected, look for the “Flip” control, usually represented by an arrow or a circular icon. Clicking this control will reverse the direction of the section. You may need to adjust the position of the section line to ensure it captures the desired elements of the model.
After flipping, it is advisable to check the section view to confirm that it displays the intended components. This is crucial when working with detailed designs like LED displays, where precision is key.
3. Adjusting Visibility Settings
Once the plane of section is flipped, you may need to adjust the visibility settings to ensure all relevant elements are displayed correctly. Go to the “Visibility/Graphics” settings in Revit and review the categories that are currently visible.
Pay special attention to elements that may be hidden due to the new orientation of the section. Adjusting these settings will help in presenting a clear and comprehensive view of the design, particularly when showcasing LED displays, which often involve multiple layers and components.
Additionally, consider utilizing the “Filters” option within the Visibility/Graphics settings to highlight specific elements or categories that are critical to your project. This can be particularly useful in complex designs where distinguishing between various components, such as structural elements and architectural finishes, is necessary. By applying filters, you can enhance the clarity of your section view, making it easier for stakeholders to understand the intricacies of your design.
Moreover, it’s beneficial to frequently save your work and create different views for comparison. This practice allows you to revert to previous configurations if needed and helps in documenting the evolution of your design decisions. Keeping a well-organized set of views can also facilitate collaboration with team members, ensuring everyone is on the same page regarding the project’s progress and modifications.
Best Practices for Working with LED Displays in Revit
When designing LED displays in Revit, there are several best practices to keep in mind. These practices not only enhance the design process but also ensure that the final output is effective and visually appealing.
1. Use Detailed Models
For LED displays, using detailed models is essential. This includes incorporating accurate dimensions, materials, and textures. A well-detailed model will provide a better representation of how the LED display will look in the real world.
Additionally, detailed models allow for more accurate section views, making it easier to flip the plane of section and analyze the design from various angles. This level of detail can also aid in simulating the display’s performance under different lighting conditions, which is critical for outdoor installations where sunlight can significantly affect visibility.
2. Collaborate with Team Members
Collaboration is key in any design project. When working on LED displays, it is beneficial to engage with team members who specialize in different areas, such as lighting and electrical design. Their insights can help in refining the design and ensuring that all elements work harmoniously.
Using Revit’s collaboration tools can facilitate this process, allowing team members to share feedback and make adjustments in real-time. Furthermore, involving professionals from the marketing or branding departments can provide a unique perspective on how the LED display will convey messages effectively, ensuring that the design aligns with the overall branding strategy.
3. Regularly Review and Revise
Design is an iterative process. Regularly reviewing and revising the design can lead to improvements and innovations. After flipping the plane of section, take the time to assess the new view and consider any necessary adjustments.
Soliciting feedback from stakeholders can also provide valuable perspectives that may enhance the design further. This approach is particularly important for LED displays, where visibility and impact are crucial. Additionally, conducting mock-ups or visual simulations can be beneficial in understanding how the final product will interact with its environment, allowing for adjustments in scale, brightness, and placement before the actual installation.
Conclusion
Flipping the plane of section in Revit is a powerful technique that can significantly enhance the design and presentation of complex elements like LED displays. By understanding how to manipulate the plane of section, designers can gain valuable insights into their projects, ensuring that all components are effectively represented.
With the right practices in place, such as using detailed models, collaborating with team members, and regularly reviewing designs, the process of creating LED displays in Revit can be both efficient and rewarding. Mastering these techniques will not only improve the quality of the designs but also elevate the overall presentation, making it easier for stakeholders to visualize the final outcome.
As the world of architecture and design continues to evolve, staying updated with the latest tools and techniques in Revit will empower professionals to create innovative and impactful designs that meet the demands of modern projects.
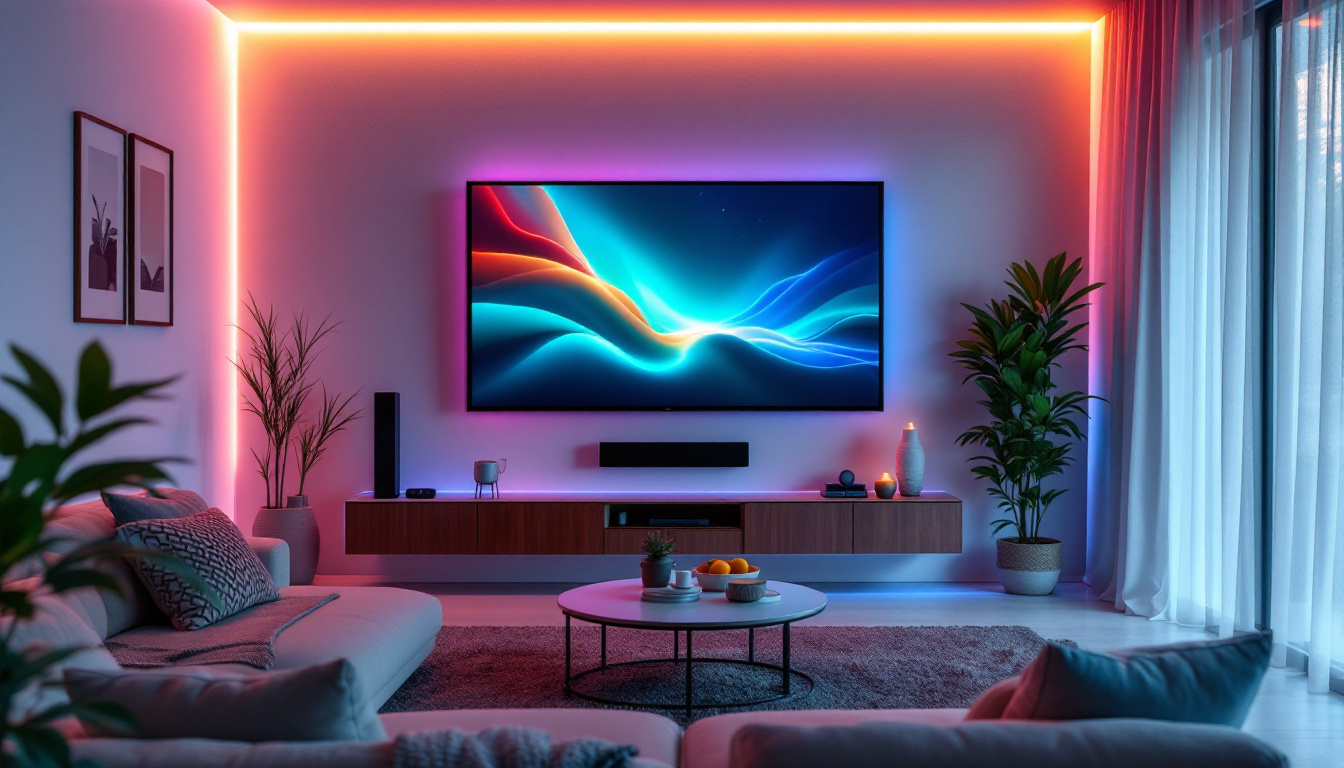
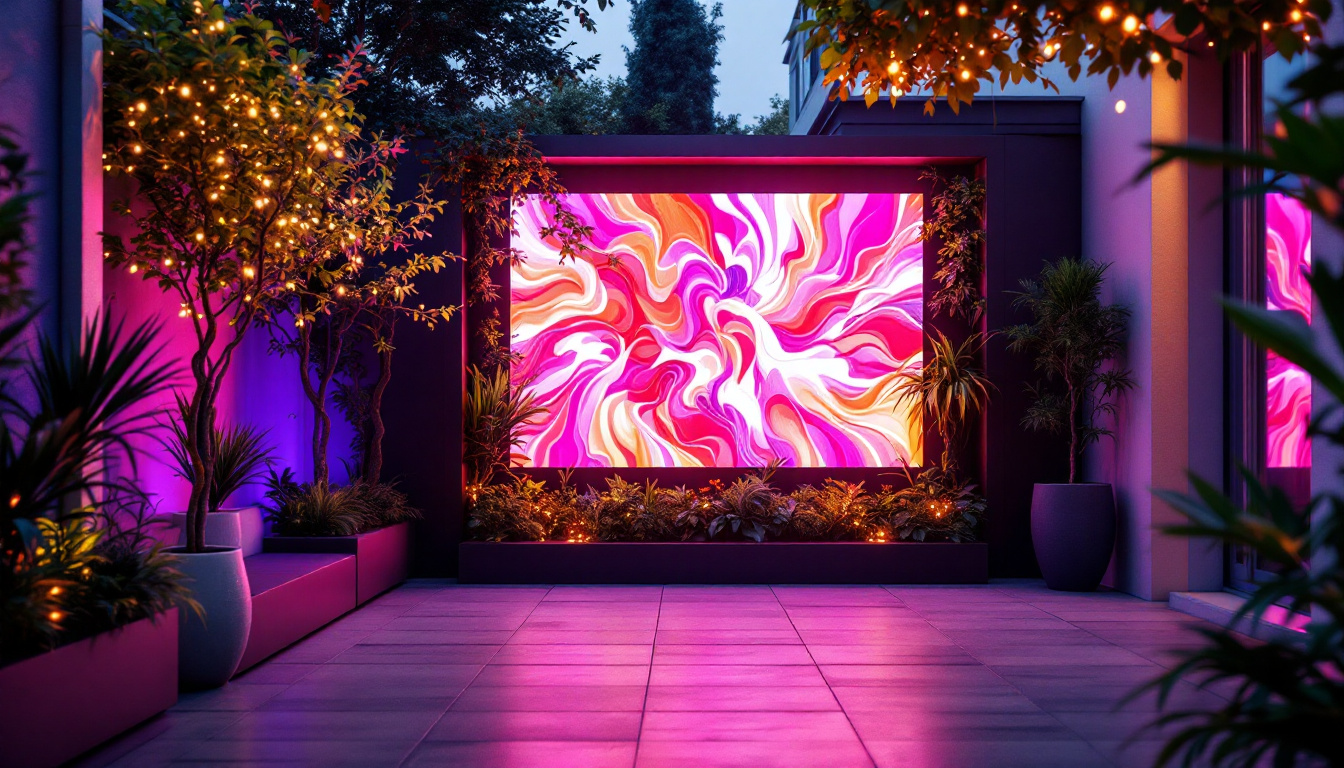
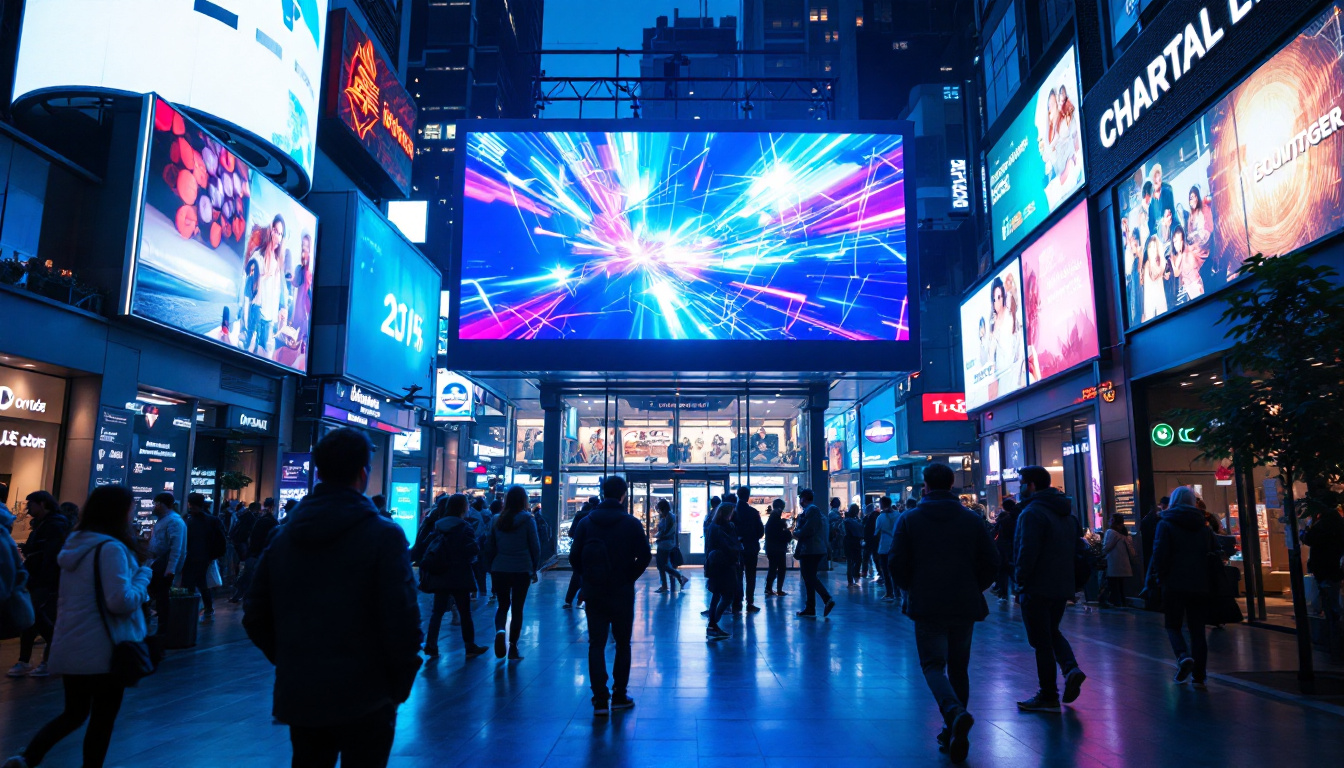
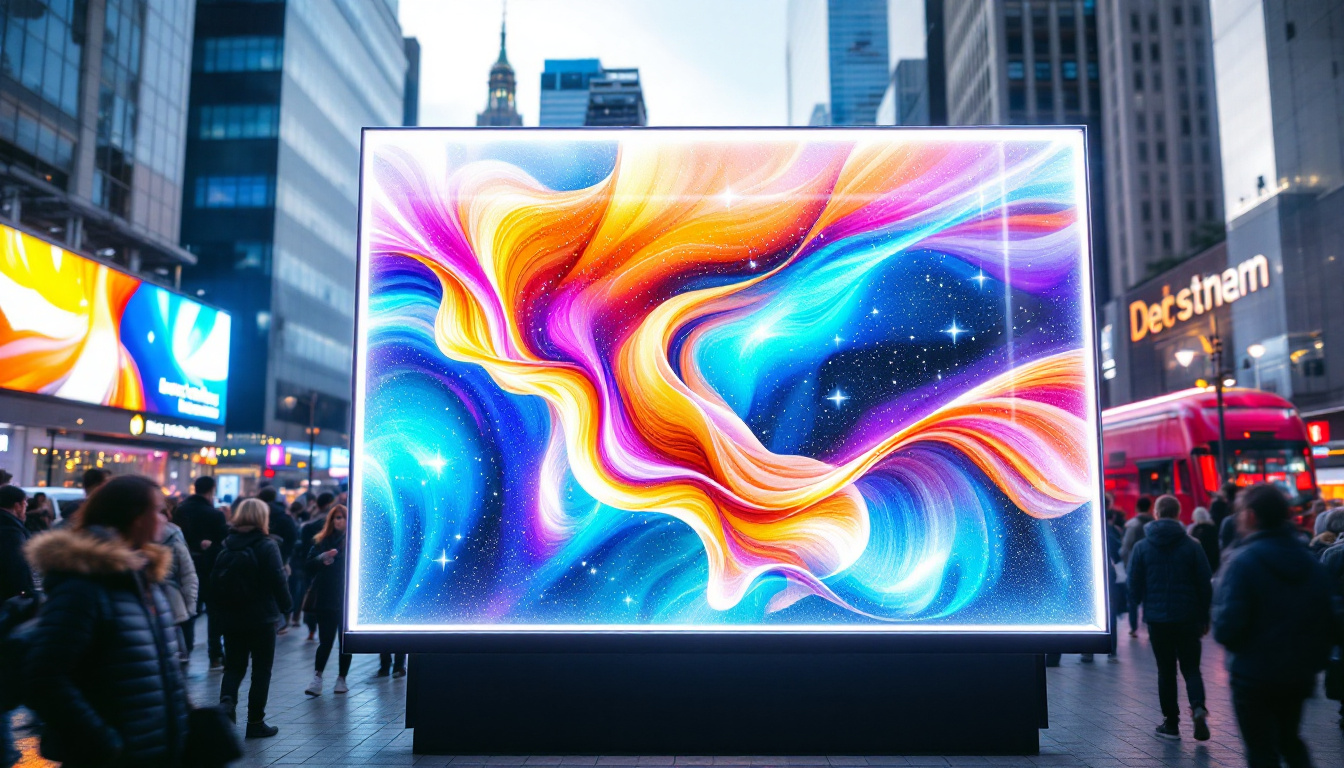
Discover LumenMatrix’s Advanced LED Display Solutions
Ready to elevate your architectural designs with the most innovative LED display technology? LumenMatrix is at the forefront of creating immersive visual experiences that transform spaces and captivate audiences. Whether you need an Indoor LED Wall Display, a dynamic Outdoor LED Wall Display, or specialized solutions like Vehicle LED Displays and LED Sports Displays, LumenMatrix has you covered. Embrace the future of visual communication with our cutting-edge LED display modules designed for maximum impact and clarity. Check out LumenMatrix LED Display Solutions today and bring your Revit designs to life.