LED lights have become a popular choice for home and office lighting due to their energy efficiency, longevity, and versatility. However, when it comes time to remove these lights from a wall, many may find the process daunting. This article will provide a comprehensive guide on how to safely and effectively remove LED lights from walls, along with an explanation of LED displays and their applications.
Understanding LED Lights and Their Adhesives
Before diving into the removal process, it’s essential to understand what LED lights are and how they are typically attached to walls. LED lights can come in various forms, including strips, panels, and bulbs. Many LED strip lights are equipped with an adhesive backing that allows for easy installation on various surfaces. This feature has made LED lights a popular choice for both residential and commercial settings, as they can be installed quickly and without the need for professional help.
This adhesive, while convenient, can pose challenges when it comes time to remove the lights. Depending on the surface material and the duration the lights have been attached, the removal process can vary significantly. For instance, removing LED lights from painted drywall may yield different results compared to removing them from a textured surface or glass. Understanding these nuances can save time and prevent potential damage to the underlying surface.
Types of LED Lights
LED lights are available in several types, each suited for different applications. Common types include:
- LED Strip Lights: Flexible strips that can be cut to size and are often used for accent lighting. They come in various colors and brightness levels, making them versatile for creating mood lighting in homes, theaters, or even under cabinets.
- LED Panels: Flat panels that provide uniform light distribution, commonly used in commercial spaces. These panels are often designed to fit into standard ceiling grids, offering a sleek and modern look while being energy-efficient.
- LED Bulbs: Standard light bulbs that can replace incandescent or fluorescent bulbs in fixtures. These bulbs are available in various shapes and sizes, including A19, GU10, and BR30, allowing for easy upgrades in existing light fixtures.
Knowing the type of LED light being removed can help determine the best removal method. For example, while strip lights may peel off relatively easily, panels may require disassembly of the fixture or careful handling to avoid damaging the surrounding area.
Common Adhesives Used
The adhesive backing on LED lights is typically a strong double-sided tape. While this tape provides a secure hold, it can also leave residue or damage the wall surface upon removal. In some cases, a more permanent adhesive may be used, particularly in commercial applications, making the removal process more complex. Additionally, some manufacturers may use specialized adhesives designed for specific environments, such as high-humidity areas, which can further complicate the removal process.
Understanding the type of adhesive used will help in selecting the right tools and techniques for removal. For instance, using a heat gun can soften the adhesive, making it easier to peel off the lights without damaging the surface. Alternatively, adhesive removers or solvents can be employed to tackle stubborn residue left behind. It’s also wise to have a variety of scraping tools on hand, as different surfaces may require different approaches to avoid scratches or gouges. Taking the time to assess both the lights and the adhesive will lead to a smoother removal experience.
Preparing for Removal
Before attempting to remove LED lights from a wall, it’s crucial to gather the necessary tools and prepare the area. Proper preparation can prevent damage to the wall and ensure a smoother removal process.
Gathering Tools
To successfully remove LED lights, the following tools may be helpful:
- Plastic Scraper: A non-abrasive scraper can help lift the lights without damaging the wall.
- Heat Gun or Hair Dryer: Applying heat can soften the adhesive, making it easier to peel off the lights.
- Adhesive Remover: A commercial adhesive remover can help eliminate any residue left behind.
- Soft Cloth: Useful for cleaning the wall after the lights have been removed.
Having these tools on hand will make the removal process more efficient and less stressful. Additionally, consider wearing protective gloves to safeguard your hands from any sharp edges or residual adhesive that may be present. If the LED lights are connected to a power source, having a voltage tester can provide an extra layer of safety by ensuring that no electricity is flowing through the wires before you begin.
Preparing the Area
Before starting the removal process, it’s a good idea to clear the area around the LED lights. Move any furniture or objects that could obstruct the removal process or get damaged. Additionally, it may be beneficial to lay down a drop cloth to catch any debris or residue that may fall during the removal.
Ensure that the lights are turned off and unplugged if applicable. This will help avoid any electrical hazards during the removal process. It’s also wise to check the wall for any previous damage or weak spots that could complicate the removal. If the LED lights have been installed for a long time, the adhesive may have bonded strongly with the wall surface, making it essential to approach the task with patience. Taking your time to gently heat and peel the lights will minimize the risk of damaging the paint or drywall underneath.
Furthermore, consider documenting the process with photos, especially if you plan to reinstall the lights or replace them with a different style. This can help you remember the layout and any specific challenges you faced during the removal. Keeping a record can also be beneficial if you need to consult with a professional later on, as it provides visual context for any issues that may arise during reinstallation or wall repairs.
Step-by-Step Guide to Removing LED Lights
With the right tools and preparation in place, the removal process can begin. Here’s a step-by-step guide to help ensure a successful removal.
Step 1: Loosen the Adhesive
Start by using a heat gun or hair dryer to gently warm the area where the LED lights are attached. Hold the heat source a few inches away from the lights and move it back and forth to evenly distribute the heat. This will soften the adhesive, making it easier to peel the lights off.
Be cautious not to overheat the lights or the wall, as excessive heat can cause damage. A few seconds of heat should suffice to loosen the adhesive.
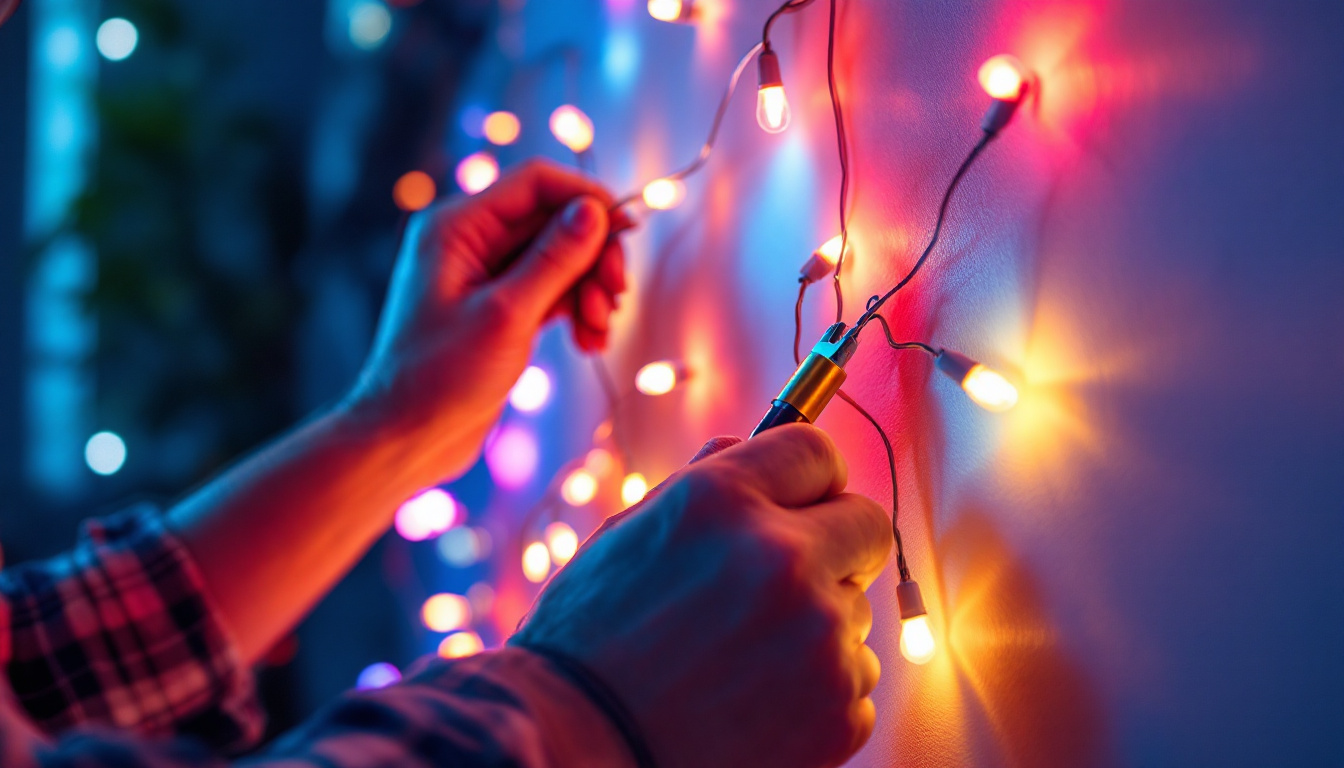
Step 2: Gently Peel Off the Lights
Once the adhesive has been softened, use a plastic scraper to gently lift one edge of the LED strip or panel. Slowly peel the lights away from the wall, applying even pressure to avoid tearing the lights or damaging the wall surface.
If the lights resist removal, apply more heat to the area. It’s important to be patient during this step to minimize any potential damage to the wall.
Step 3: Clean Up Residue
After the LED lights have been removed, there may be some adhesive residue left on the wall. Use an adhesive remover according to the manufacturer’s instructions to eliminate any leftover sticky spots. Apply the remover to a soft cloth and gently rub the area until the residue is gone.
Once the adhesive is removed, wipe the area with a clean, damp cloth to remove any remaining cleaner and allow the wall to dry.
Dealing with Difficult Situations
While most LED lights can be removed with the steps outlined above, some situations may require additional care or alternative methods. Here are a few common challenges and how to address them.
Removing Stubborn Adhesives
If the adhesive proves particularly stubborn, consider using a stronger adhesive remover or rubbing alcohol. Apply the remover to the residue and let it sit for a few minutes to penetrate the adhesive. Then, gently scrape it off with the plastic scraper.
Always test the adhesive remover on a small, inconspicuous area first to ensure it does not damage the wall finish.
Damage to the Wall
In some cases, the removal process may inadvertently damage the wall, especially if the adhesive has bonded strongly to the surface. If the wall has paint damage or peeling, it may be necessary to touch up the paint or repair the wall before proceeding with any new installations.
For minor scratches or dents, a simple wall repair kit can be used to fill in the imperfections before repainting.
Alternative Removal Methods
In certain scenarios, alternative methods may be more effective for removing LED lights. Here are a few options to consider:
Using a Solvent
For LED lights that are particularly difficult to remove, a solvent such as acetone or rubbing alcohol can be applied to the adhesive. These solvents can break down the adhesive properties, allowing for easier removal. However, caution should be exercised to avoid damaging the wall’s finish.
Apply a small amount of solvent to a cloth and gently rub the adhesive until it begins to lift. Follow up with a clean cloth to remove any residue left behind.
Cutting the Lights
If the LED lights are not easily removable and are damaged during the process, cutting them may be an option. This is especially true for LED strip lights that can be cut at designated intervals. However, this method should be a last resort, as it will render the lights unusable.
Before cutting, ensure that the lights are unplugged and that there is no risk of electrical shock.
Conclusion
Removing LED lights from a wall can be a straightforward process when approached with the right tools and techniques. Understanding the type of LED lights and adhesives involved is crucial for a successful removal. By following the steps outlined in this guide, individuals can safely remove their LED lights while minimizing damage to their walls.
Whether upgrading to new lighting or simply changing the decor, knowing how to remove LED lights effectively can save time and frustration. With proper preparation and care, the removal process can be completed efficiently, paving the way for new lighting solutions.
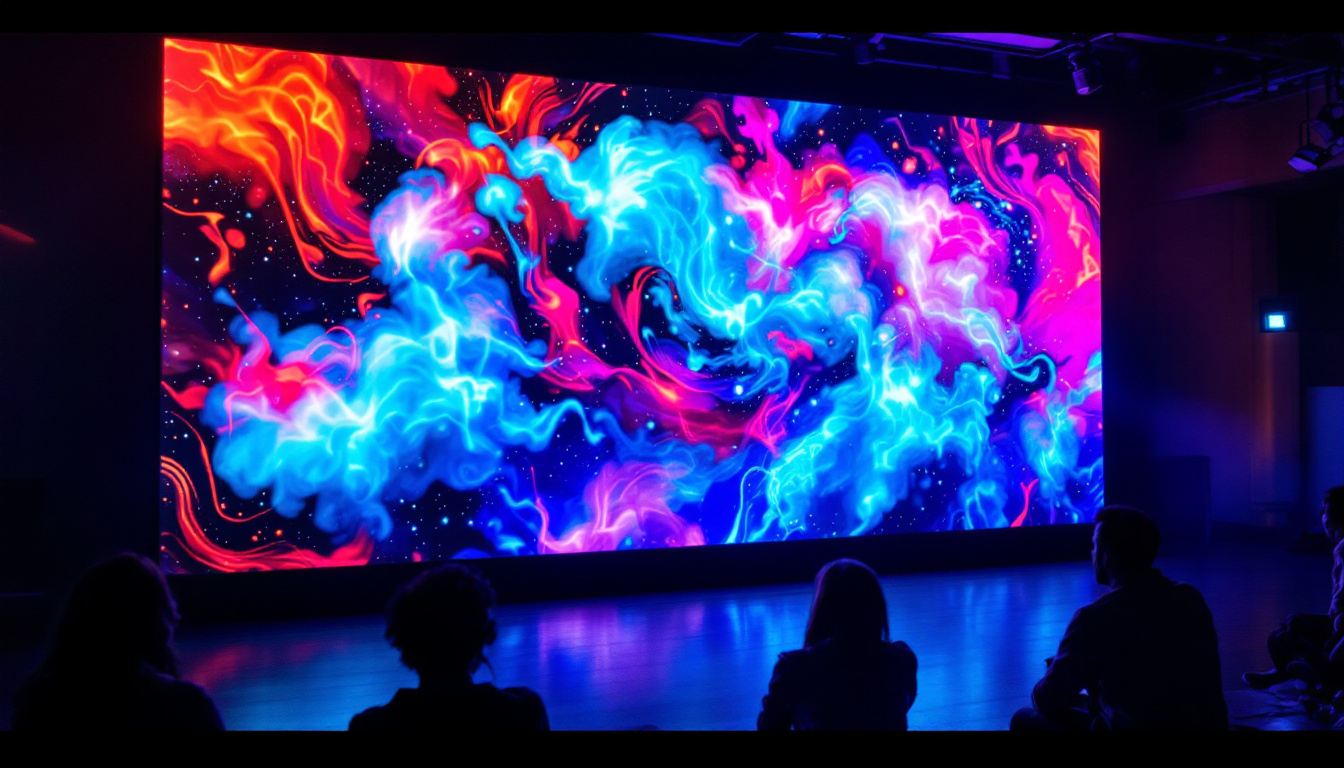
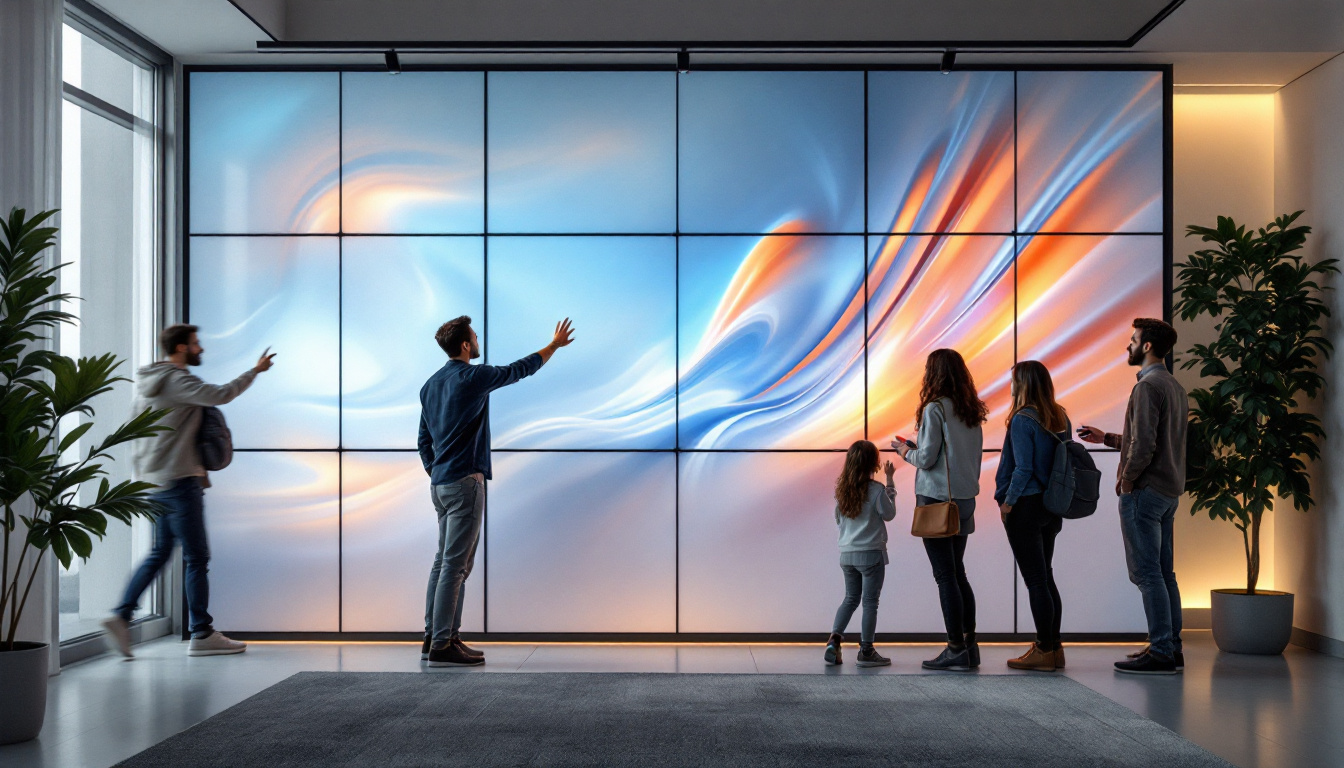
Explore Cutting-Edge LED Display Solutions
Now that you’re equipped with the knowledge to remove LED lights safely from your walls, why not consider an upgrade? LumenMatrix, a pioneer in LED display technology, offers an array of innovative LED display modules designed to elevate your space and captivate your audience. From dynamic Indoor and Outdoor LED Wall Displays to specialized solutions like Vehicle LED Displays and LED Sports Displays, LumenMatrix is committed to transforming visual communication. Discover how our LED Poster Displays, Floor LED Displays, and Custom LED options can enhance your brand visibility. Experience the future of digital signage with our All-in-One and LED Transparent Displays. Ready to create a mesmerizing visual experience? Check out LumenMatrix LED Display Solutions and see how we can help you share your message with impact and clarity.