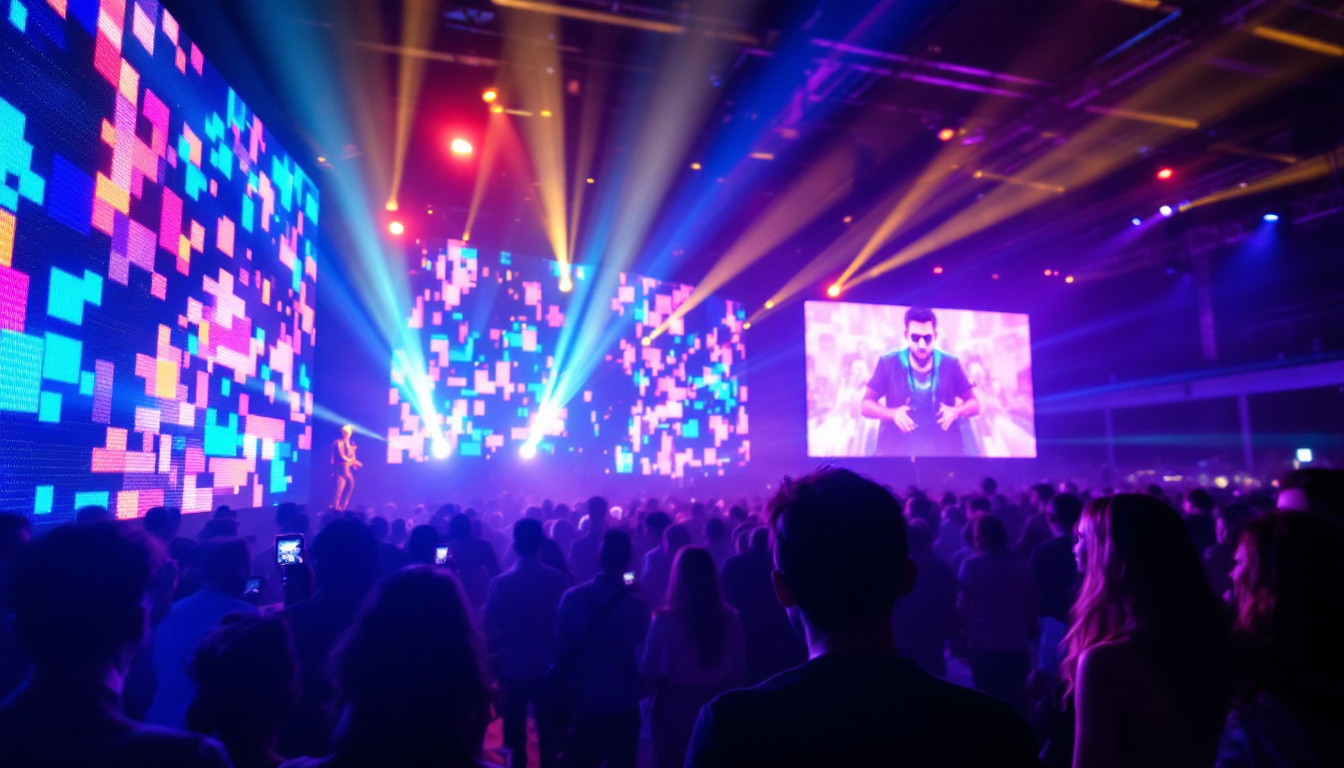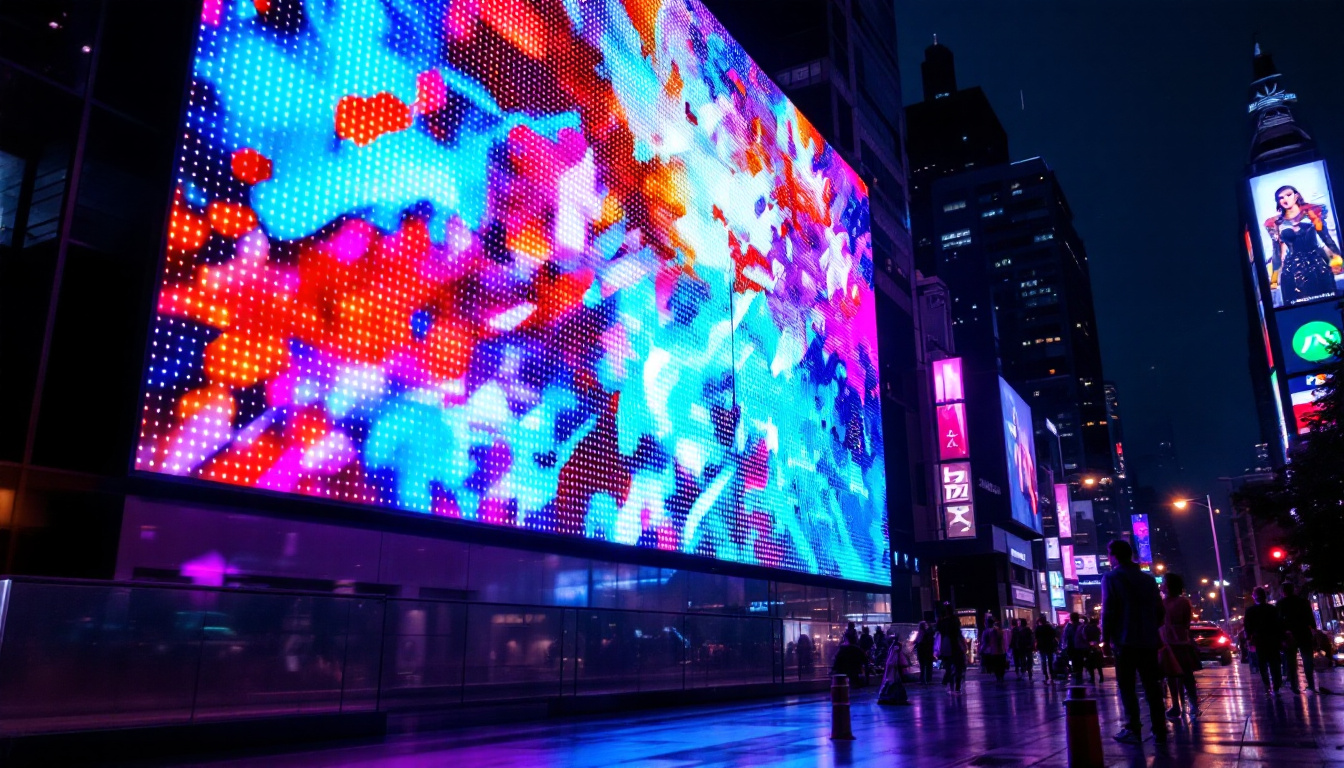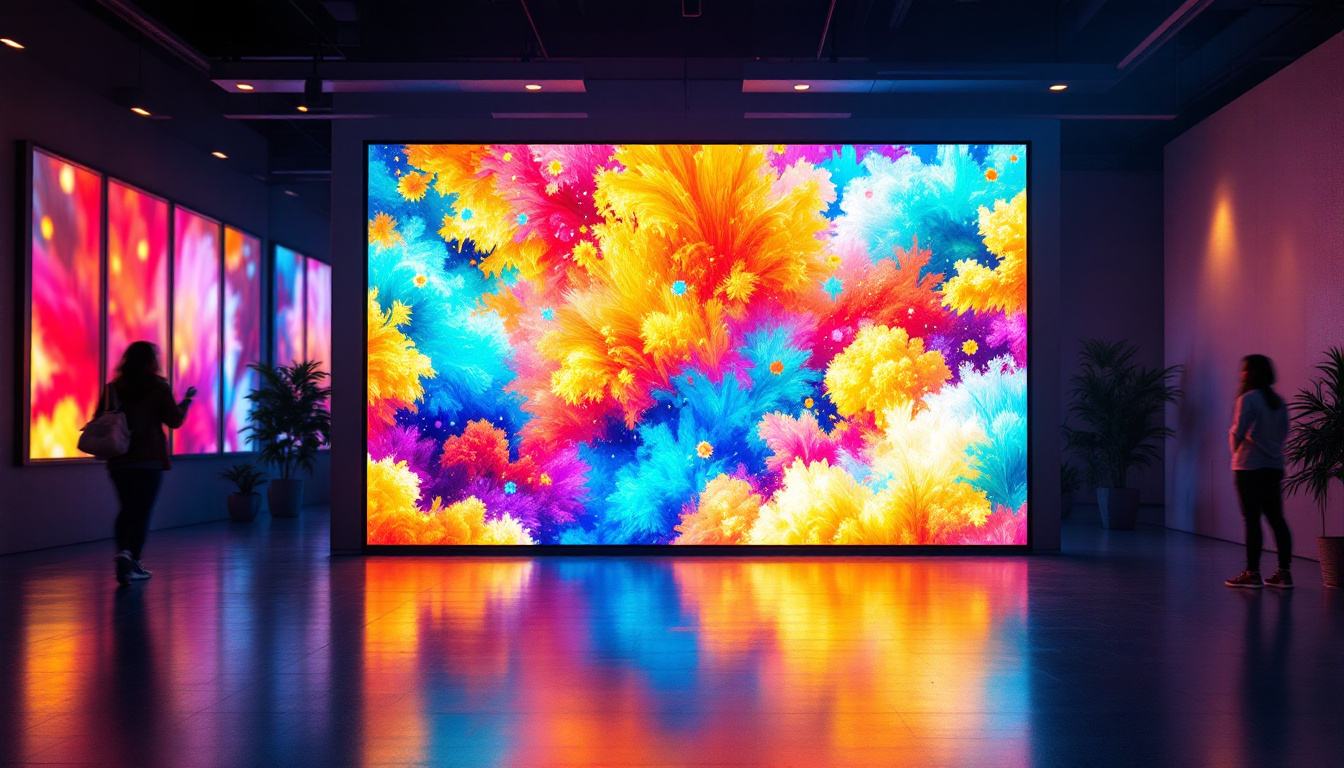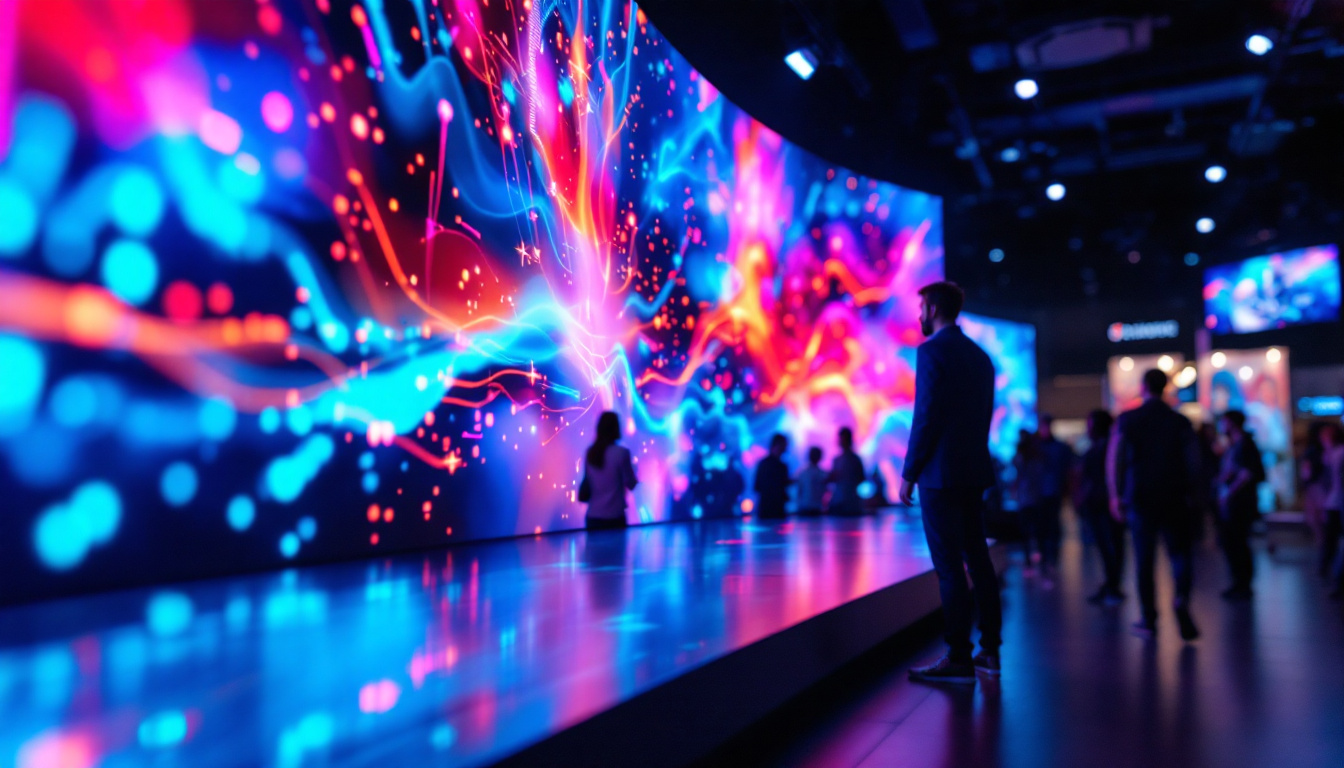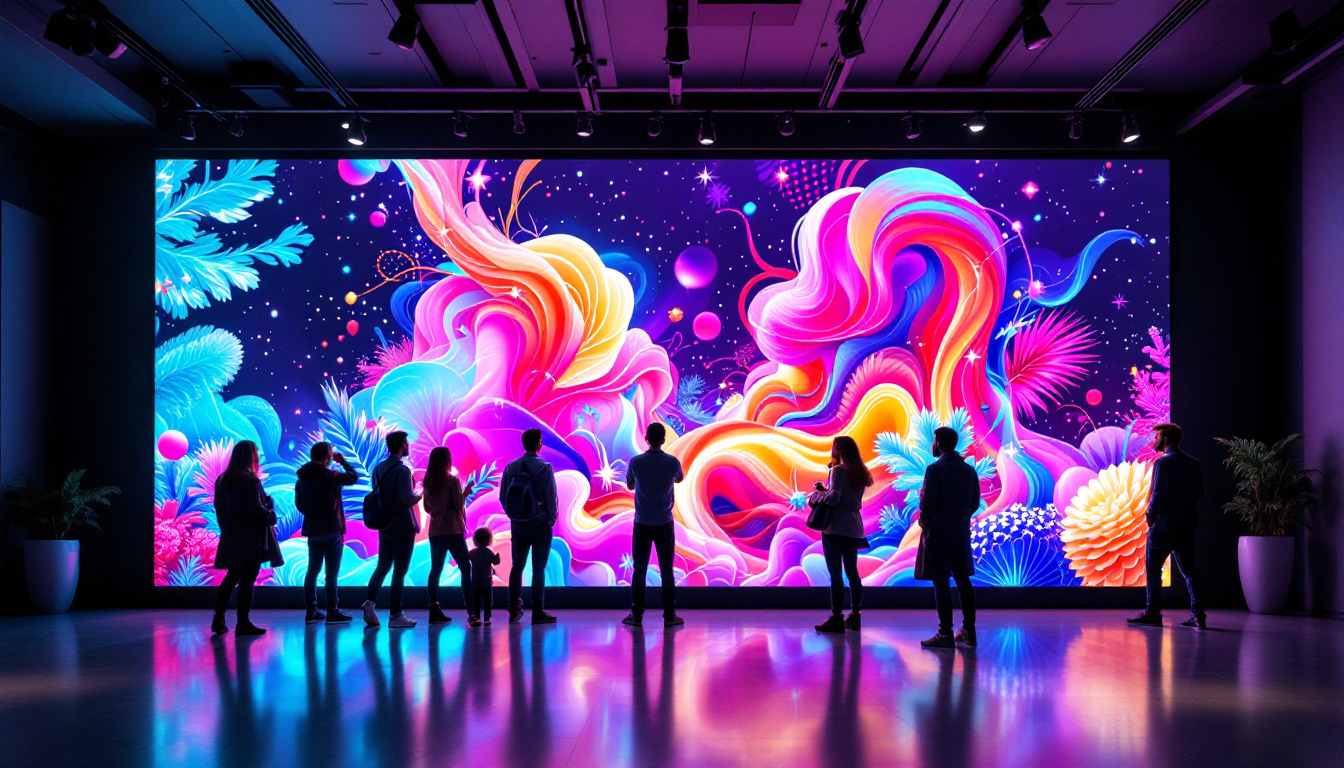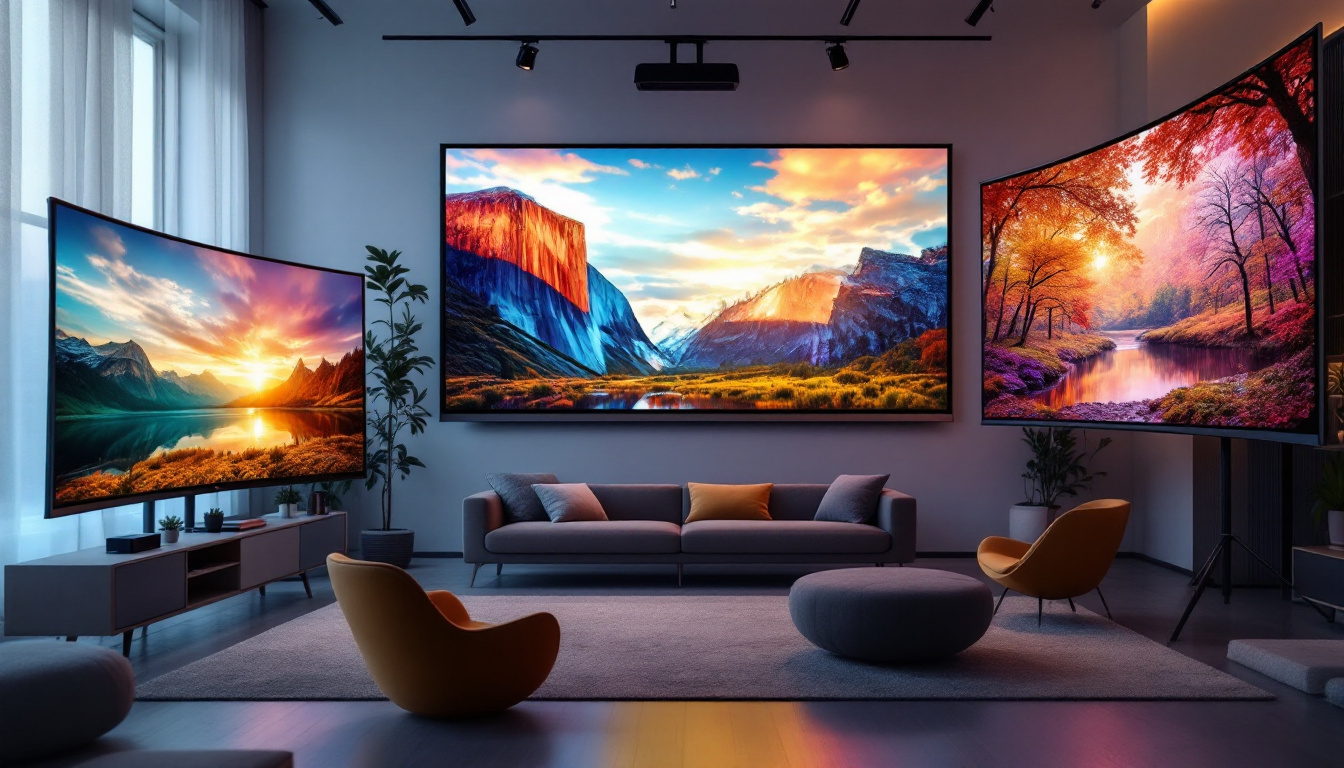
In the world of modern technology, LED displays have become a staple for various applications, from advertising to home entertainment. One of the innovative solutions for installing LED displays is the Screen Tight system. This article will guide you through the process of installing Screen Tight, providing a comprehensive understanding of its components and benefits.
Understanding the Screen Tight System
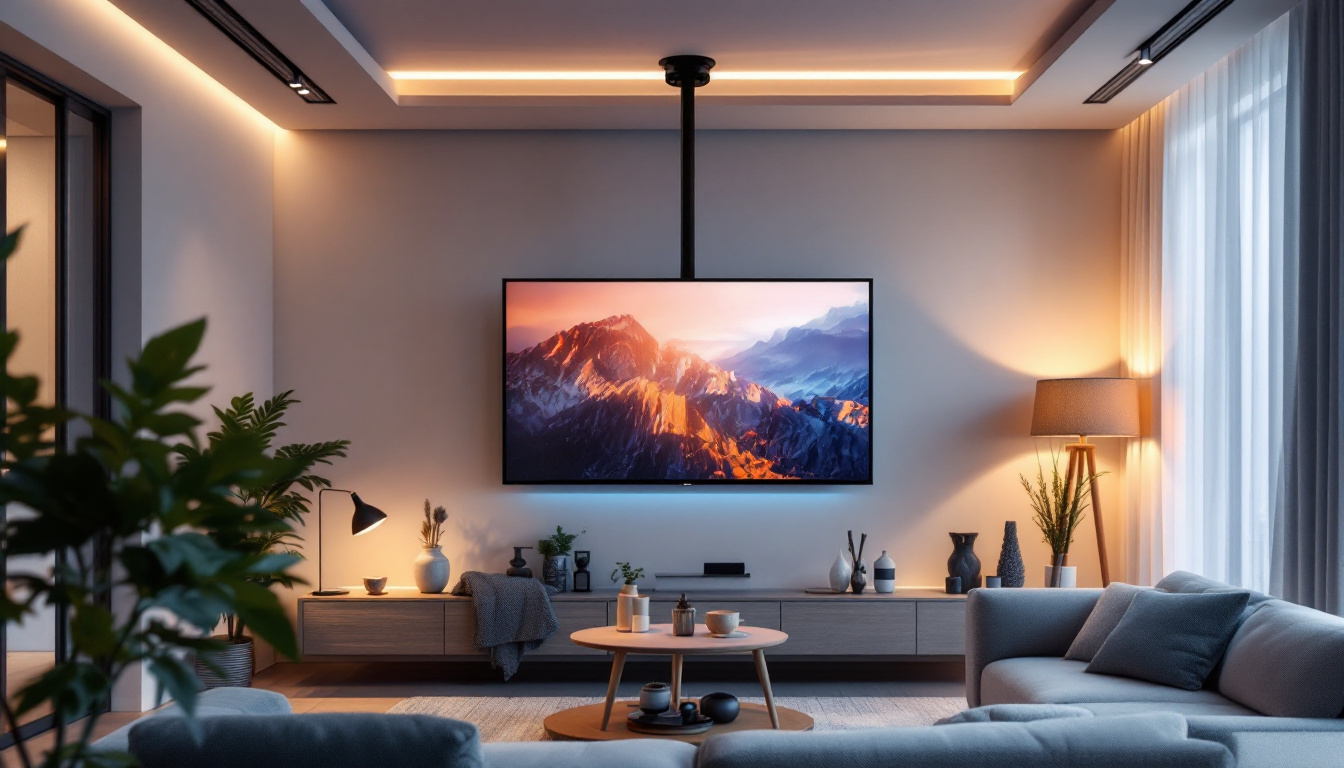
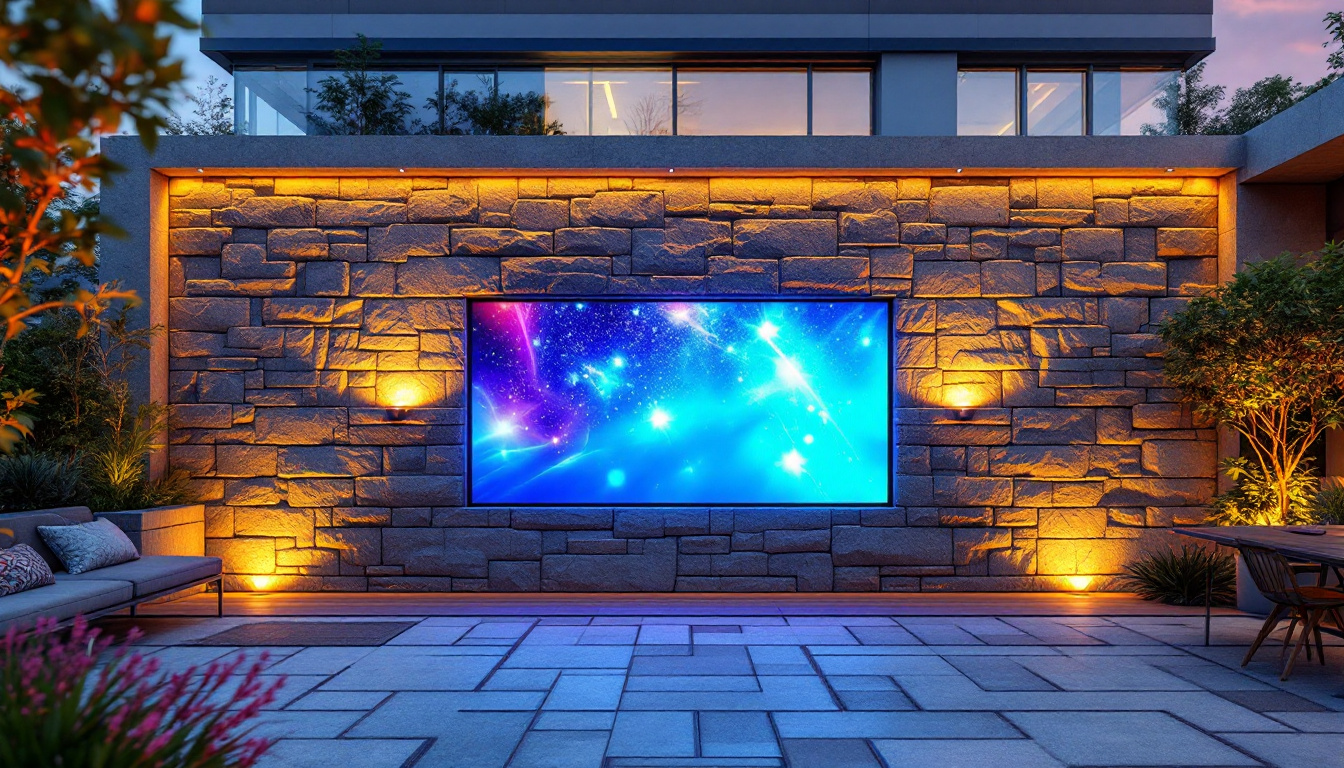
The Screen Tight system is designed to create a seamless and professional-looking installation for LED displays. It is especially popular in settings where aesthetics and functionality are equally important. This system allows for easy access to the display while ensuring that it remains securely in place.
Before diving into the installation process, it’s essential to familiarize yourself with the key components of the Screen Tight system. This includes the frame, mounting brackets, and the LED display itself. Understanding how these elements work together will make the installation much smoother.
Key Components of the Screen Tight System
The primary components of the Screen Tight system include the following:
- Frame: The frame serves as the backbone of the installation, providing support and structure for the LED display.
- Mounting Brackets: These brackets are essential for securely attaching the frame to the wall or other surfaces.
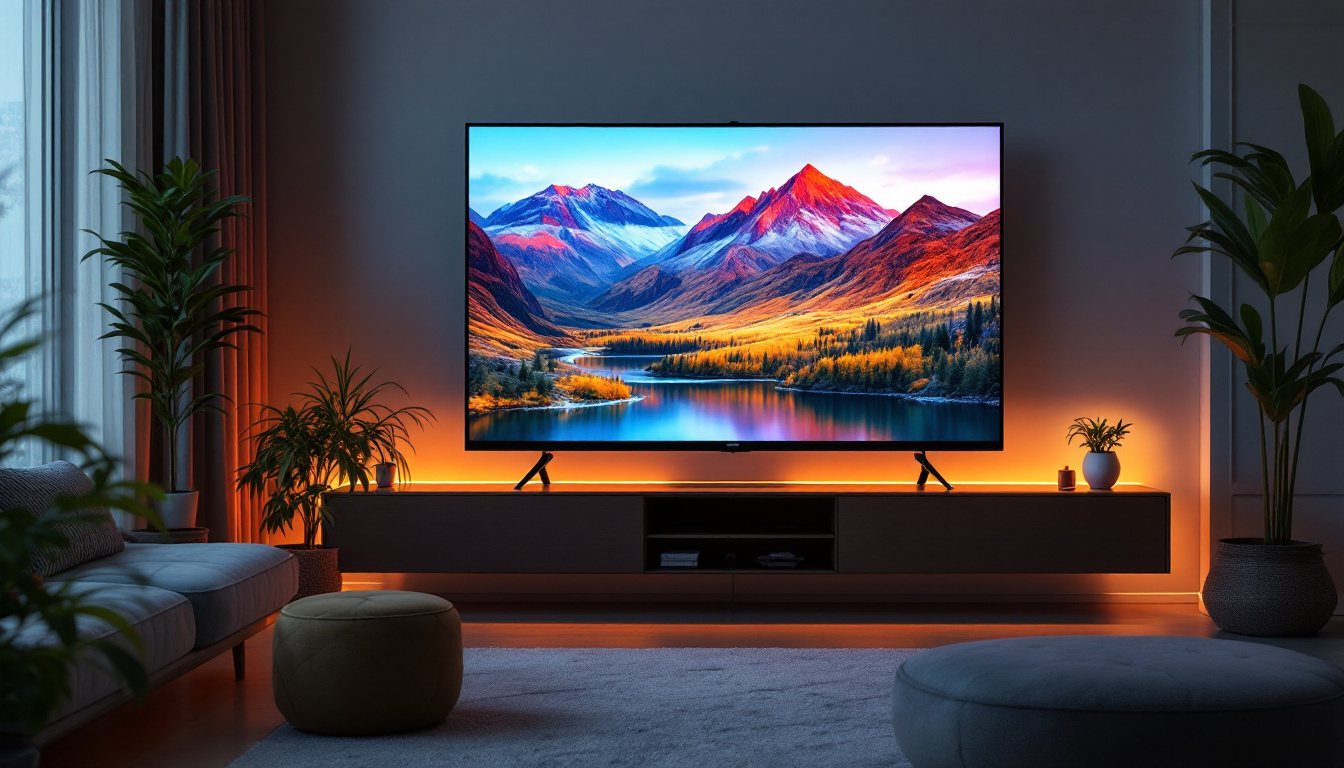
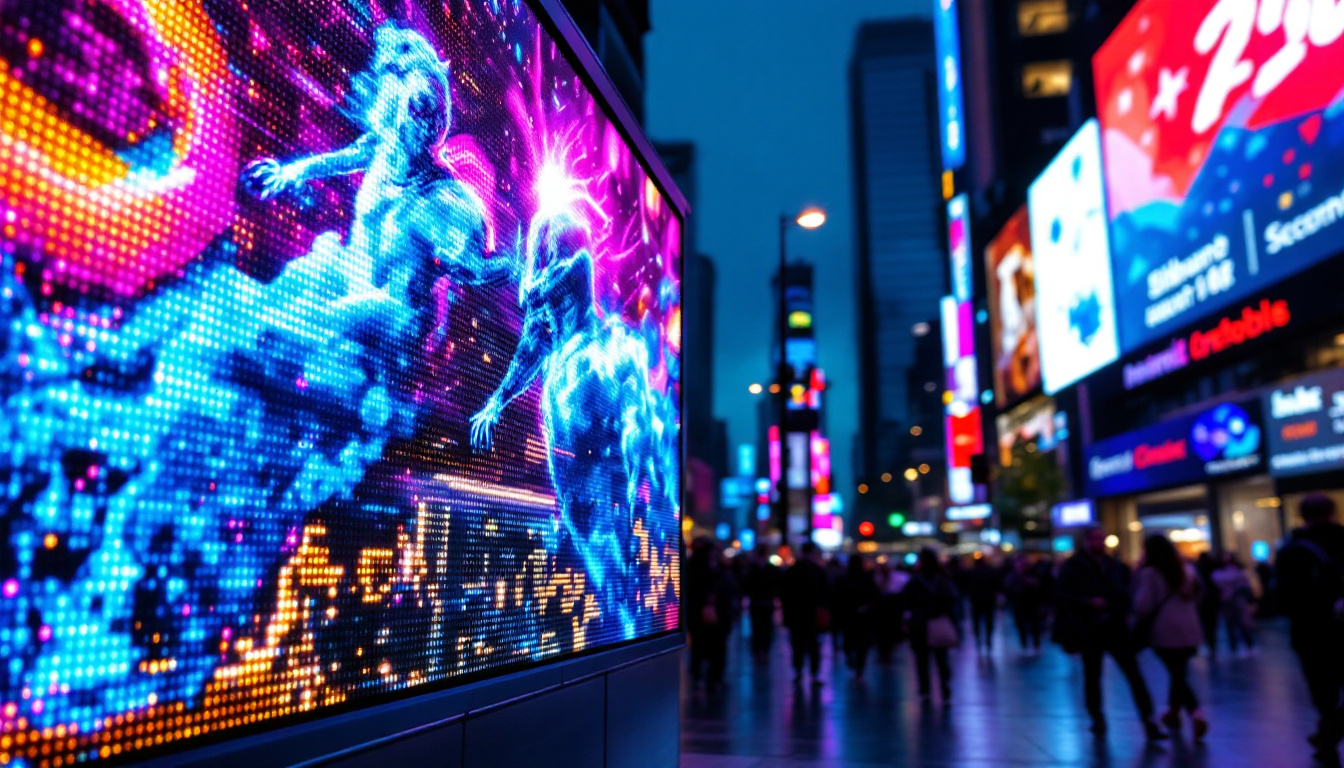
- LED Display: The display itself is the focal point of the installation, providing vibrant visuals for viewers.
Each of these components plays a vital role in ensuring that the installation is not only secure but also visually appealing. Understanding their functions will help in troubleshooting any potential issues that may arise during installation.
In addition to these core components, the Screen Tight system also incorporates various accessories that enhance its functionality. For instance, weather-resistant seals can be added to protect the installation from environmental factors, making it suitable for outdoor use. This feature is particularly beneficial for venues that host events in varying weather conditions, ensuring that the display remains operational and visually striking regardless of the elements.
Moreover, the Screen Tight system is designed with user-friendliness in mind. Many of the components come with pre-drilled holes and alignment guides, which simplify the installation process significantly. This thoughtful design reduces the time and effort required to set up the display, allowing users to focus on achieving the perfect visual presentation. Whether you are a seasoned professional or a DIY enthusiast, the intuitive nature of the Screen Tight system makes it accessible to a wide range of users.
Preparation for Installation
Proper preparation is crucial for a successful installation. Before beginning the installation process, it’s important to gather all necessary tools and materials. This ensures that the process runs smoothly and efficiently.
Start by reviewing the installation instructions provided by the manufacturer. Familiarizing yourself with these guidelines will help you understand the specific requirements for your particular LED display model and the Screen Tight system. Pay close attention to any safety warnings or recommendations, as these can significantly impact both the installation process and the long-term performance of your display.
Tools and Materials Needed
To install the Screen Tight system, you will need the following tools and materials:
- Drill and drill bits
- Screwdriver
- Level
- Tape measure
- Stud finder
- Safety goggles
- Screen Tight frame and mounting brackets
- LED display
Having these tools on hand will streamline the installation process and minimize the risk of delays. Additionally, ensure that you have a clear workspace to facilitate movement and organization during the installation. It can be beneficial to lay out all your tools and materials in an organized manner, perhaps even labeling them if necessary, so you can easily access everything you need without wasting time searching.
Choosing the Right Location
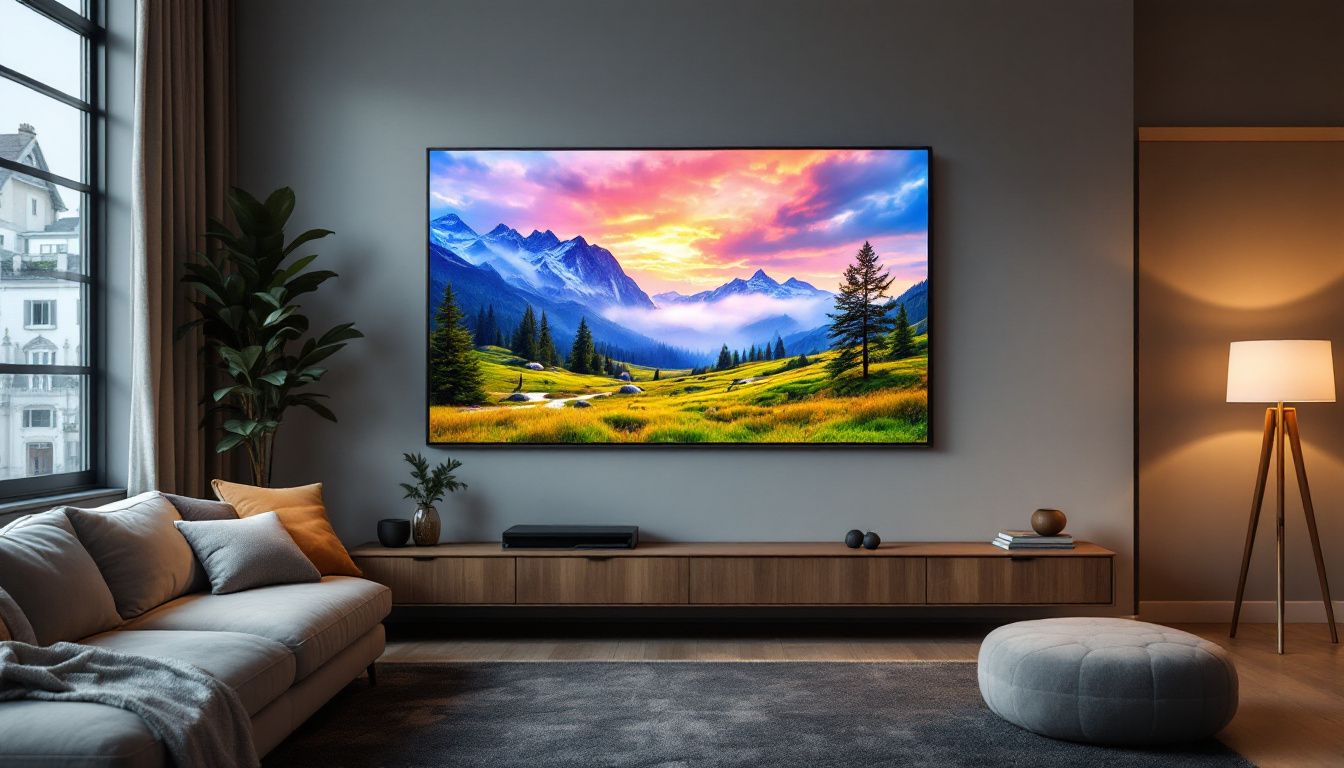
Choosing the right location for your LED display is crucial for optimal viewing and functionality. Consider factors such as lighting, visibility, and accessibility. The display should be placed in an area where it can be easily seen by your target audience, whether it’s in a commercial setting or a home environment. Think about the angle from which viewers will be watching the display; a slight tilt or elevation can make a significant difference in visibility.
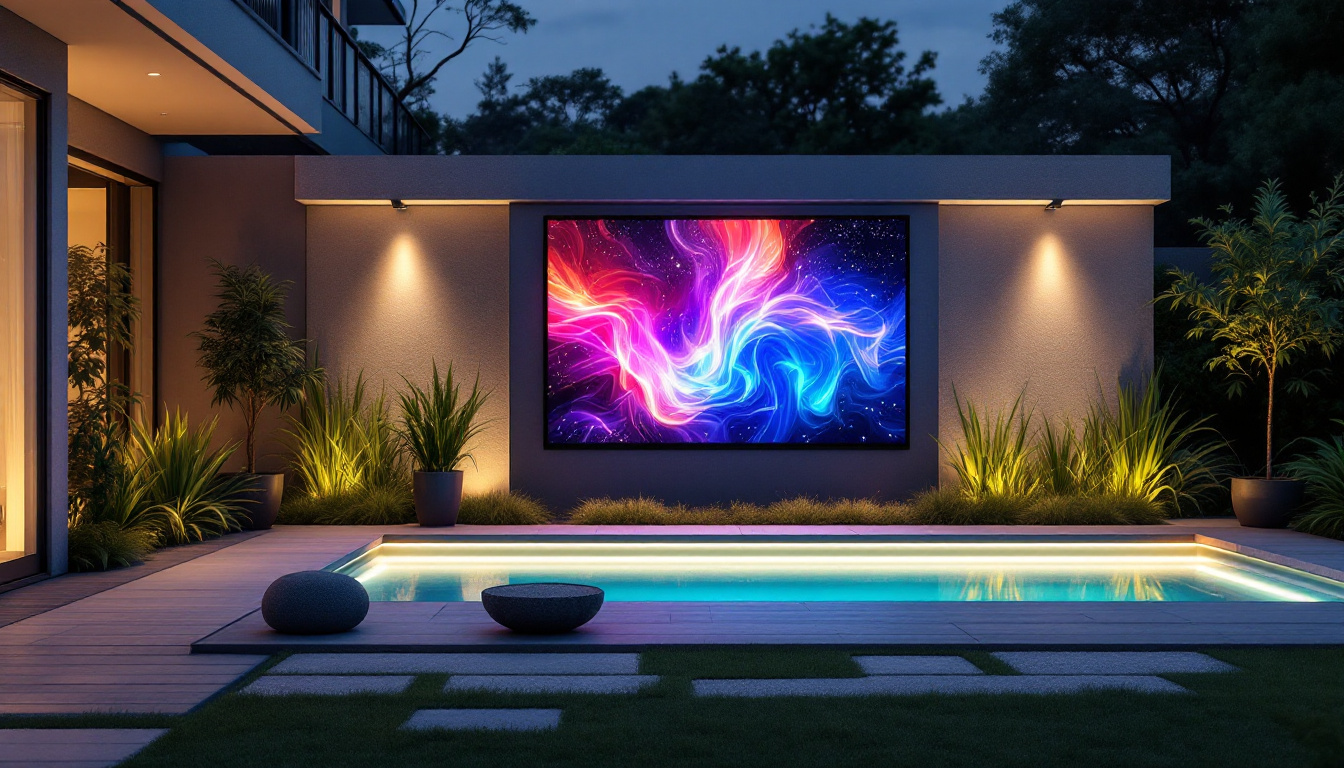
Furthermore, ensure that the location has access to power sources and is free from obstructions. This will not only enhance the viewing experience but also simplify the installation process. Additionally, consider the potential for environmental factors such as weather if the display will be outdoors. Installing a weather-resistant enclosure may be necessary to protect your LED display from rain, dust, or extreme temperatures, ensuring its longevity and consistent performance. Taking these extra precautions can save you time and money in the long run, as well as enhance the overall effectiveness of your display in engaging your audience.
Step-by-Step Installation Process
With the preparation complete, it’s time to move on to the actual installation of the Screen Tight system. This process can be broken down into several key steps, ensuring a systematic approach to achieving a successful installation.
Step 1: Marking the Installation Area
Begin by using a tape measure to determine the exact dimensions of the LED display and the Screen Tight frame. Mark the installation area on the wall with a pencil, ensuring that it is level. Using a level will help to avoid any misalignment during installation.
Once the area is marked, use a stud finder to locate the studs in the wall. This is crucial for ensuring that the mounting brackets are securely attached to a stable surface. Mark the locations of the studs on your installation area for reference.
Step 2: Installing the Mounting Brackets
Next, it’s time to install the mounting brackets. Align the brackets with the marked stud locations, ensuring they are level. Using a drill, secure the brackets to the wall with the appropriate screws. It’s important to tighten the screws adequately to ensure a secure fit.
Once the brackets are installed, double-check their alignment with the level. This step is critical, as any misalignment can affect the overall appearance and functionality of the LED display.
Step 3: Attaching the Frame
With the mounting brackets securely in place, the next step is to attach the Screen Tight frame. Carefully position the frame onto the mounted brackets, ensuring that it fits snugly. Depending on the design of the Screen Tight system, you may need to secure the frame with additional screws or clips.
Once the frame is attached, take a moment to inspect it for any gaps or misalignments. Adjust as necessary to achieve a seamless look. A well-installed frame will provide the necessary support for the LED display while enhancing the overall aesthetic.
Installing the LED Display
With the Screen Tight frame securely in place, it’s time to install the LED display itself. This step requires careful handling to avoid damaging the display components.
Step 1: Preparing the Display
Before installation, ensure that the LED display is free from any debris or protective coverings. This will help to prevent scratches or damage during the installation process. Review the manufacturer’s guidelines for any specific instructions regarding the handling and installation of the display.
It’s also advisable to have a second person assist with this step, as LED displays can be bulky and difficult to maneuver alone. Having an extra set of hands can make the process much smoother and safer.
Step 2: Mounting the Display
Carefully lift the LED display and align it with the Screen Tight frame. Depending on the system design, you may need to slide the display into place or secure it with additional fasteners. Follow the manufacturer’s instructions closely to ensure proper installation.
Once the display is mounted, double-check its alignment and stability. It should fit securely within the frame without any wobbling or gaps. If necessary, make adjustments to ensure a perfect fit.
Step 3: Connecting Power and Cables
After the display is securely mounted, it’s time to connect the power and any necessary cables. Ensure that all connections are secure and that the cables are neatly organized to avoid any clutter around the installation area.
Test the display to ensure that it powers on and functions correctly. This is an essential step to verify that the installation was successful and that there are no issues with the display itself.
Final Touches and Maintenance
With the installation complete, it’s important to take a moment to clean the area and make any final adjustments. This will enhance the overall appearance of the installation and ensure that everything is functioning properly.
Cleaning the Installation Area
Use a soft cloth to wipe down the LED display and the surrounding area. This will help remove any dust or fingerprints that may have accumulated during the installation process. A clean display not only looks better but also enhances the viewing experience for your audience.
Additionally, check for any loose screws or components that may need tightening. Ensuring that everything is secure will help maintain the integrity of the installation over time.
Regular Maintenance Tips
To keep your Screen Tight installation in optimal condition, regular maintenance is essential. This includes checking the display for any signs of wear or damage, ensuring that all connections remain secure, and cleaning the display periodically to maintain its clarity.
It’s also advisable to review the manufacturer’s guidelines for any specific maintenance recommendations. Following these guidelines will help prolong the lifespan of your LED display and ensure that it continues to perform at its best.
Conclusion
Installing the Screen Tight system for LED displays can seem daunting at first, but with the right preparation and understanding of the process, it can be a straightforward task. By following the steps outlined in this article, you can achieve a professional-looking installation that enhances the visual appeal of your space.
Remember to take your time during each step, ensuring that everything is aligned and secure. With proper care and maintenance, your Screen Tight installation will provide vibrant visuals and reliable performance for years to come.
Discover LumenMatrix LED Display Solutions
Ready to elevate your space with a visually stunning LED display? LumenMatrix offers a wide range of innovative LED display solutions tailored to meet your needs. Whether you’re looking to enhance brand visibility, create captivating visual experiences, or engage your audience like never before, our state-of-the-art LED display modules are designed to revolutionize visual communication. From indoor and outdoor displays to custom and transparent options, LumenMatrix has you covered. Check out LumenMatrix LED Display Solutions today and transform your visual storytelling.