How To Mount A TV On Wall: LED Display Explained
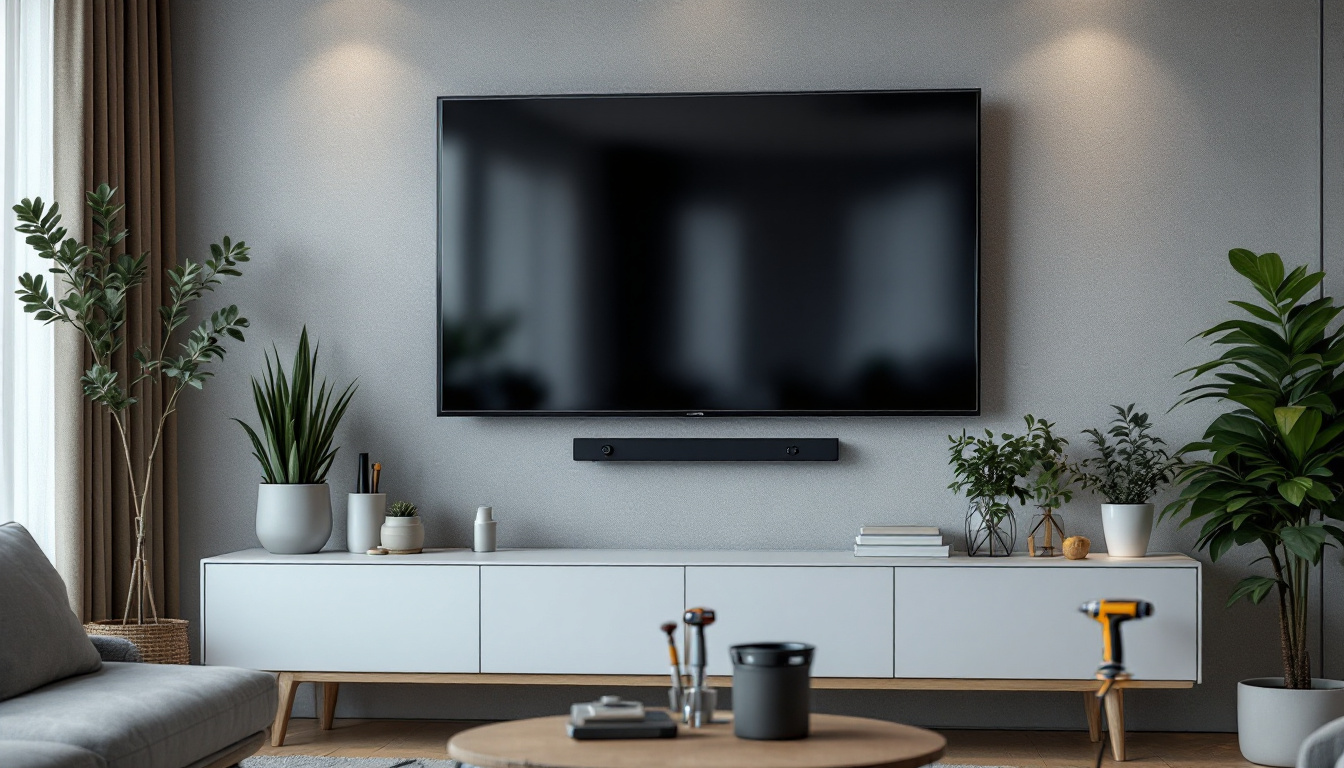
Mounting a TV on the wall is a popular choice for many homeowners and renters alike. Not only does it save space, but it also enhances the aesthetic appeal of a room. With the rise of LED displays, understanding how to properly mount a TV has become essential. This guide will walk you through the process, from selecting the right mount to ensuring optimal viewing angles.
Choosing the Right Wall Mount
Before diving into the mounting process, it’s crucial to select the appropriate wall mount for your LED TV. There are several types available, each designed for different needs and preferences.
Types of Wall Mounts
There are three primary types of wall mounts: fixed, tilting, and full-motion. Fixed mounts hold the TV flat against the wall, providing a sleek look but limiting adjustability. Tilting mounts allow for a slight angle adjustment, which can help reduce glare from windows. Full-motion mounts offer the most flexibility, enabling the TV to be pulled away from the wall and swiveled for the best viewing angle. This can be particularly beneficial in larger rooms where seating arrangements may vary, allowing viewers to adjust the screen for optimal visibility.
When choosing a mount, consider the size and weight of your TV, as well as the wall type. Most mounts specify a weight limit, so ensure that your chosen mount can support your TV’s weight. Additionally, it’s wise to think about the wall material; for instance, drywall may require different anchors compared to concrete or brick. Using the correct hardware is essential for ensuring that your TV is securely mounted and safe from accidental falls.
Compatibility with Your TV
Not all mounts are compatible with every TV model. Check the VESA (Video Electronics Standards Association) mounting pattern on the back of your TV, which indicates the distance between the mounting holes. This measurement will help you find a compatible wall mount. Most manufacturers provide this information in the TV’s manual or on their website. It’s also worth noting that some newer models come with unique mounting systems that may not adhere to standard VESA patterns, so double-checking compatibility is vital to avoid any costly mistakes.
Moreover, consider additional features that may enhance your viewing experience. Some mounts come with integrated cable management systems that help keep wires organized and out of sight, contributing to a cleaner aesthetic. Others may include built-in levels or templates to assist with the installation process, making it easier to achieve a perfect alignment on the wall. Taking the time to evaluate these features can lead to a more satisfying setup, ensuring that your TV not only looks great but functions seamlessly in your living space.
Gathering Tools and Materials
Once you’ve selected the right wall mount, it’s time to gather the necessary tools and materials. Having everything on hand will make the installation process smoother and more efficient.
Essential Tools
Some of the basic tools required for mounting a TV include a drill, stud finder, level, tape measure, and a screwdriver. A socket wrench may also be useful, depending on the mount design. If you are mounting a larger TV, having a second person to assist can be beneficial. Additionally, a hammer can come in handy for tapping in wall anchors or adjusting the mount into place. It’s also wise to have a flashlight available, especially if you’re working in a dimly lit area or behind furniture, ensuring you can see all the details clearly during installation.
Materials Needed
In addition to the wall mount kit, ensure you have wall anchors and screws if your mount does not come with them. These components are essential for securing the mount to the wall, especially if you are not drilling into studs. It’s also advisable to have a cable management system ready, which can help keep your cords organized and out of sight once the TV is mounted. This not only enhances the aesthetic appeal of your setup but also prevents tangling and potential damage to the cables. Furthermore, consider having a soft cloth or cleaning supplies on hand to wipe down the area before and after installation, ensuring a neat and polished look for your newly mounted TV.
Preparing the Wall
Preparation is key to a successful TV mounting project. Properly preparing the wall will ensure that the mount is secure and that the TV is positioned correctly.
Finding the Right Location
Consider the room layout and the viewing distance when selecting the TV’s location. Ideally, the center of the screen should be at eye level when seated. For most people, this is about 42 to 48 inches from the floor. Additionally, ensure that the wall has adequate space for the TV size you have chosen. Take into account factors such as natural light, which can cause glare on the screen, and the arrangement of furniture, as you want to create a comfortable viewing experience. If possible, test different locations by temporarily placing the TV on a stand to visualize how it will look and feel in the space.
Using a Stud Finder
Before drilling any holes, use a stud finder to locate the wall studs. Mounting a TV directly into the studs is the safest option, as it provides the necessary support. Mark the stud locations with a pencil, as these will guide where to attach the wall mount. If your wall is made of drywall, it’s crucial to avoid mounting the TV on the drywall alone, as it may not hold the weight securely. In cases where studs are not available in the desired mounting area, consider using toggle bolts or other heavy-duty wall anchors designed for such situations. These alternatives can provide additional support, but it’s essential to follow the manufacturer’s instructions carefully to ensure safety and stability.
Mounting the Wall Bracket
With the wall prepared, it’s time to install the wall bracket. This step requires careful attention to detail to ensure a secure fit.
Marking Drill Points
Once the bracket is aligned with the studs, use a level to ensure it is straight. Mark the drill points through the bracket holes onto the wall. Double-check the level before proceeding to drill.
Drilling and Securing the Bracket
Drill holes into the marked points, ensuring that the drill bit is appropriate for the wall type (wood, drywall, etc.). If using wall anchors, insert them into the holes before securing the bracket. Finally, attach the wall bracket using screws, ensuring they are tightly fastened.
Attaching the TV to the Mount
With the wall bracket securely in place, the next step is to attach the TV to the mount. This process can vary slightly depending on the mount type.
Preparing the TV
Before lifting the TV, ensure that any cables are connected, such as HDMI or power cables. It may be easier to connect these cables before the TV is mounted. If the mount has an articulating arm, ensure it is in the correct position for mounting.
Mounting the TV
With assistance, lift the TV and align it with the wall bracket. Depending on the mount type, you may need to slide the TV onto the bracket or hook it into place. Ensure that all locking mechanisms are engaged to secure the TV properly.
Adjusting the Viewing Angle
Once the TV is mounted, it’s important to adjust it for the best viewing experience. This step is particularly relevant for tilting or full-motion mounts.
Fine-Tuning the Position
For tilting mounts, adjust the angle to minimize glare and optimize the viewing experience. If using a full-motion mount, take the time to test different positions to find the most comfortable angle. Ensure that the TV is stable and secure in its new position.
Hiding Cables
To achieve a clean look, consider hiding the cables. There are several options available, from cable covers that adhere to the wall to in-wall cable management systems. These solutions not only enhance aesthetics but also reduce the risk of tripping over loose cables.
Testing and Finalizing the Setup
After everything is securely mounted and adjusted, it’s time to test the setup. This final step ensures that everything is functioning correctly and that the TV is positioned perfectly.
Powering On the TV
Plug in the TV and power it on. Check that all connected devices, such as sound systems or gaming consoles, are functioning properly. This is also a good time to adjust any settings on the TV for optimal picture quality.
Final Adjustments
Take a moment to sit in your usual viewing position and assess the TV’s height and angle. If necessary, make any final adjustments to ensure the best possible viewing experience. This could involve slight tilting or repositioning to achieve the desired effect.
Safety Considerations
Mounting a TV can be a straightforward process, but safety should always be a top priority. Taking the right precautions can prevent accidents and damage to your TV.
Weight Limitations
Always adhere to the weight limits specified by the wall mount manufacturer. Exceeding these limits can result in the mount failing and the TV falling, potentially causing injury or damage.
Secure Installation
Ensure that all screws and bolts are tightened securely. Regularly check the mount for any signs of wear or looseness, especially if the TV is frequently adjusted. This proactive approach can help prevent issues down the line.
Conclusion
Mounting a TV on the wall can transform a room, providing a sleek and modern look while optimizing viewing angles. By selecting the right mount, preparing the wall properly, and following the installation steps carefully, anyone can achieve a professional-looking setup.
Whether you opt for a fixed, tilting, or full-motion mount, the key is to prioritize safety and functionality. With the right tools and a little patience, mounting a TV can be a rewarding DIY project that enhances both the aesthetics and enjoyment of your living space.
Enhance Your Space with LumenMatrix LED Displays
Now that you’ve mastered the art of mounting your TV, elevate your visual experience with LumenMatrix’s innovative LED display technology. As a leader in LED solutions, LumenMatrix offers a wide range of products, from Indoor and Outdoor LED Wall Displays to specialized options like Vehicle and Sports Displays. Whether you’re looking to create a dynamic home entertainment system or captivate customers with high-impact digital signage, LumenMatrix has the perfect LED display to bring your vision to life. Check out LumenMatrix LED Display Solutions and transform your visual communication today.

