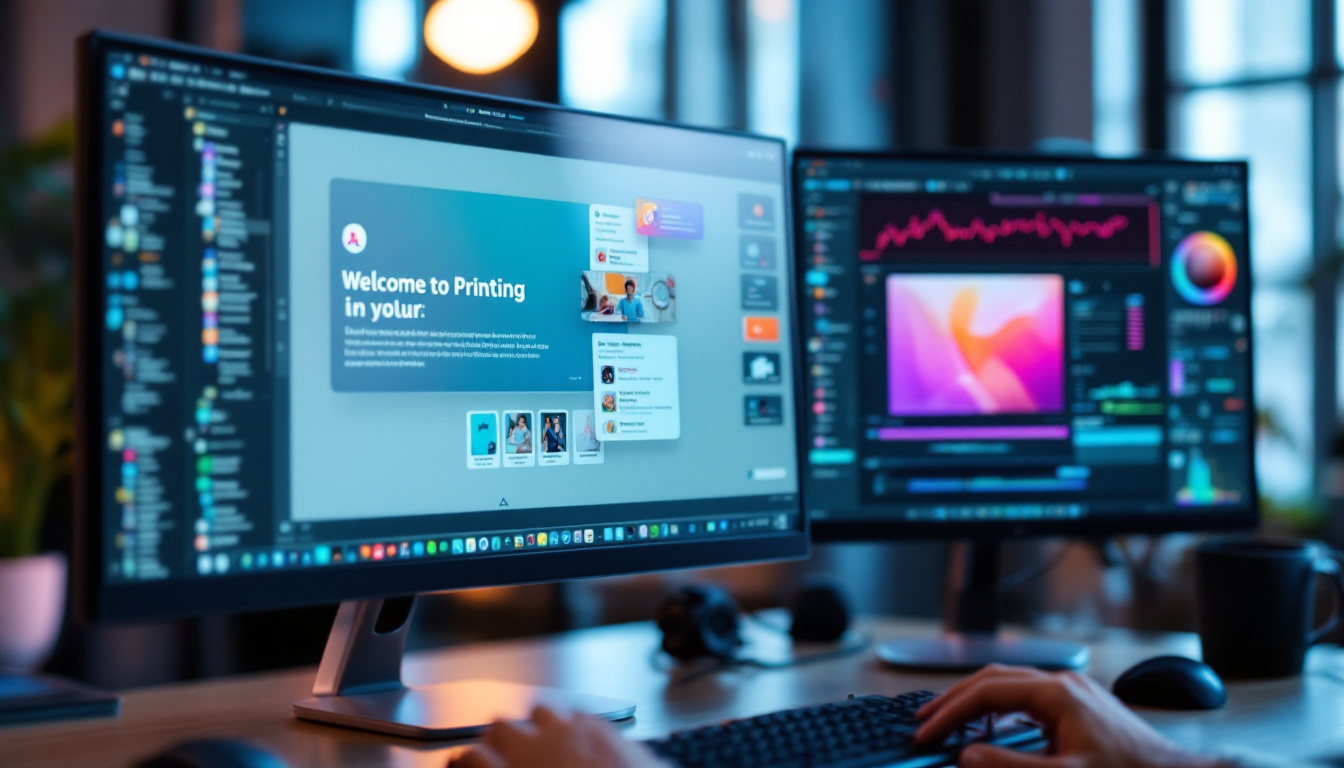
In today’s digital age, dual monitor setups have become increasingly popular among professionals and casual users alike. This configuration offers enhanced productivity, allowing users to multitask efficiently. However, printing a single screen from a dual monitor setup can be a bit tricky for those unfamiliar with the process. This article aims to guide you through the steps necessary to print one screen on dual monitors while also explaining some key concepts related to LED displays.
Understanding Dual Monitor Setups
Before diving into the printing process, it’s essential to understand how dual monitor setups function. A dual monitor configuration involves connecting two displays to a single computer, which allows the user to extend their desktop space. This setup can significantly enhance workflow, especially for tasks that require multiple applications to be open simultaneously. The ability to spread out work across two screens can lead to a more organized workspace, where users can keep their most important tools and resources readily accessible.
Benefits of Using Dual Monitors
Utilizing dual monitors offers numerous advantages. One of the primary benefits is the increased screen real estate, which enables users to have multiple applications visible at once. For instance, a user can have a web browser open on one screen while working on a document on the other. This can reduce the time spent switching between tabs and windows, ultimately improving efficiency. Furthermore, studies have shown that dual monitor setups can lead to a significant boost in productivity, with some users reporting up to a 40% increase in output. This is particularly beneficial for professionals in fields such as graphic design, programming, and data analysis, where multitasking is essential.
Additionally, dual monitors can enhance collaboration in a workspace. For example, during presentations, one screen can display the presentation while the other can show notes or a video conferencing application. This duality allows for a more seamless interaction with colleagues or clients. Moreover, in team environments, having two monitors can facilitate easier sharing of information, as one screen can be dedicated to displaying shared documents or spreadsheets, while the other can be used for personal notes or communications. This setup not only fosters a more dynamic work environment but also encourages teamwork and engagement among team members.
Common Configurations
There are various ways to configure dual monitors, including extending the display or mirroring it. In an extended display setup, each monitor acts as an independent screen, allowing for a larger workspace. Conversely, a mirrored setup duplicates the same content on both screens, which can be useful for presentations but limits the available workspace. Additionally, users can customize their configurations further by adjusting the orientation of the monitors; for example, one monitor can be set to portrait mode for reading long documents or coding, while the other remains in landscape mode for general use. This flexibility allows users to tailor their setups to their specific needs, making dual monitors a versatile choice for any workspace.
Preparing to Print from Dual Monitors
Once the dual monitor setup is configured, the next step is preparing to print from one of the screens. This process can vary slightly depending on the operating system and the software being used. However, the general principles remain consistent across platforms.
Identifying the Active Screen
Before printing, it’s crucial to identify which monitor is currently active. The active screen is the one that will be printed when a screenshot is taken. On most systems, the active window is highlighted, and any actions taken will pertain to that specific screen. Understanding how to switch between monitors is vital for ensuring the correct screen is selected.
For Windows users, the active screen can be identified by looking for the highlighted window or by checking the taskbar. On macOS, the active screen will also be indicated by the highlighted application in the dock. Users should ensure that the desired screen is active before proceeding to print. Additionally, some users may find it helpful to customize their display settings, such as adjusting the resolution or scaling options, to ensure that the content appears as intended on each monitor. This can be particularly useful when dealing with high-resolution displays, where text and images may appear differently across screens.
Choosing the Right Software
To print a screen effectively, users will need to utilize software that can capture screenshots. Most operating systems come with built-in tools for this purpose. For instance, Windows has the Snipping Tool and Snip & Sketch, while macOS offers the Screenshot application. Additionally, third-party applications can provide enhanced features for capturing and editing screenshots.
Choosing the right software can make a significant difference in the quality and ease of the printing process. Users should consider their specific needs and whether they require additional features such as annotation or editing capabilities. For example, some applications allow users to add text, arrows, or highlights directly onto the screenshot before printing, which can be especially useful for presentations or instructional materials. Furthermore, exploring cloud-based solutions can offer seamless integration with online storage and collaboration tools, allowing for easy sharing and access to printed materials from anywhere.
Capturing the Screen on Dual Monitors
Once the active screen is identified and the appropriate software is chosen, the next step is to capture the screen. This process can vary slightly depending on the operating system, but the general steps remain consistent.
Using Keyboard Shortcuts
One of the quickest ways to capture a screen is by using keyboard shortcuts. On Windows, pressing the Print Screen (PrtScn) key captures the entire screen, while Alt + Print Screen captures only the active window. For users with dual monitors, pressing Windows + Shift + S opens the Snip & Sketch tool, allowing users to select a specific area to capture.
On macOS, users can press Command + Shift + 4 to capture a selected area or Command + Shift + 3 to capture the entire screen. For dual monitors, the same shortcuts apply, but users should ensure they select the desired screen area.
Saving the Screenshot
After capturing the screen, the next step is to save the screenshot. Most screenshot tools will prompt users to save the image in a designated location. It’s advisable to choose a location that is easy to access, such as the desktop or a specific folder designated for images.
Users should also consider the file format in which they save the screenshot. Common formats include PNG and JPEG, each having its advantages. PNG files are lossless and retain high quality, while JPEG files are smaller in size, making them easier to share.
Printing the Captured Screen
After successfully capturing and saving the screenshot, the final step is to print the image. This process can be straightforward, but there are a few considerations to keep in mind to ensure the best results.
Selecting the Printer
Before printing, users must select the appropriate printer. This can typically be done through the print dialog that appears when the user chooses to print the screenshot. Users should ensure that the correct printer is selected, especially in environments where multiple printers are available.
In addition to selecting the printer, users should also check the printer settings. This includes paper size, orientation, and print quality. Adjusting these settings can significantly impact the final output, especially for images that require high detail.
Previewing the Print
Before finalizing the print job, it’s wise to preview the print. Most printing software offers a preview option that allows users to see how the image will appear on paper. This step can help identify any issues, such as cropping or scaling problems, before the actual print is made.
By reviewing the print preview, users can make necessary adjustments to ensure the final product meets their expectations. This step is particularly important when printing images or documents that will be shared with others or used for professional purposes.
Common Issues and Troubleshooting
While printing from dual monitors can be a straightforward process, users may encounter some common issues. Understanding these problems and knowing how to troubleshoot them can save time and frustration.
Screen Not Capturing Correctly
One common issue is when the wrong screen is captured or when the capture does not work at all. This can happen if the wrong window is active or if the keyboard shortcuts are not used correctly. To resolve this, users should double-check which screen is active and ensure they are using the correct shortcuts.
If the issue persists, restarting the screenshot tool or the computer may help resolve any temporary glitches. Additionally, updating the software or drivers related to the display can also improve functionality.
Printing Errors
Another common issue is related to printing errors, such as the printer not responding or producing poor-quality prints. Users should ensure that the printer is connected properly and has sufficient ink and paper. Checking the printer settings for quality and paper type can also help improve print results.
If problems continue, consulting the printer’s manual or the manufacturer’s website can provide additional troubleshooting steps. Many printer manufacturers offer online support resources that can assist users in resolving specific issues.
Conclusion
Printing from a dual monitor setup may seem daunting at first, but with the right knowledge and tools, it can be a straightforward process. By understanding how to identify the active screen, capture the desired image, and print effectively, users can take full advantage of their dual monitor configurations.
As technology continues to evolve, so too do the methods and tools available for managing dual monitors. Staying informed about the latest developments can further enhance productivity and streamline workflows. Whether for professional tasks or personal projects, mastering the art of printing from dual monitors is a valuable skill in today’s digital landscape.
Enhance Your Visual Experience with LumenMatrix
Ready to elevate your workspace and presentation capabilities with cutting-edge LED display technology? Discover the transformative power of LumenMatrix’s innovative LED display solutions. From dynamic Indoor LED Walls to captivating Outdoor Displays and beyond, LumenMatrix offers a wide range of products designed to make your visual communications more impactful. Whether you’re looking to create immersive environments or simply enhance your dual monitor setup, LumenMatrix has the perfect solution to meet your needs. Check out LumenMatrix LED Display Solutions today and experience the future of visual storytelling.

