Introduction to M Audio Fast Track Ultra
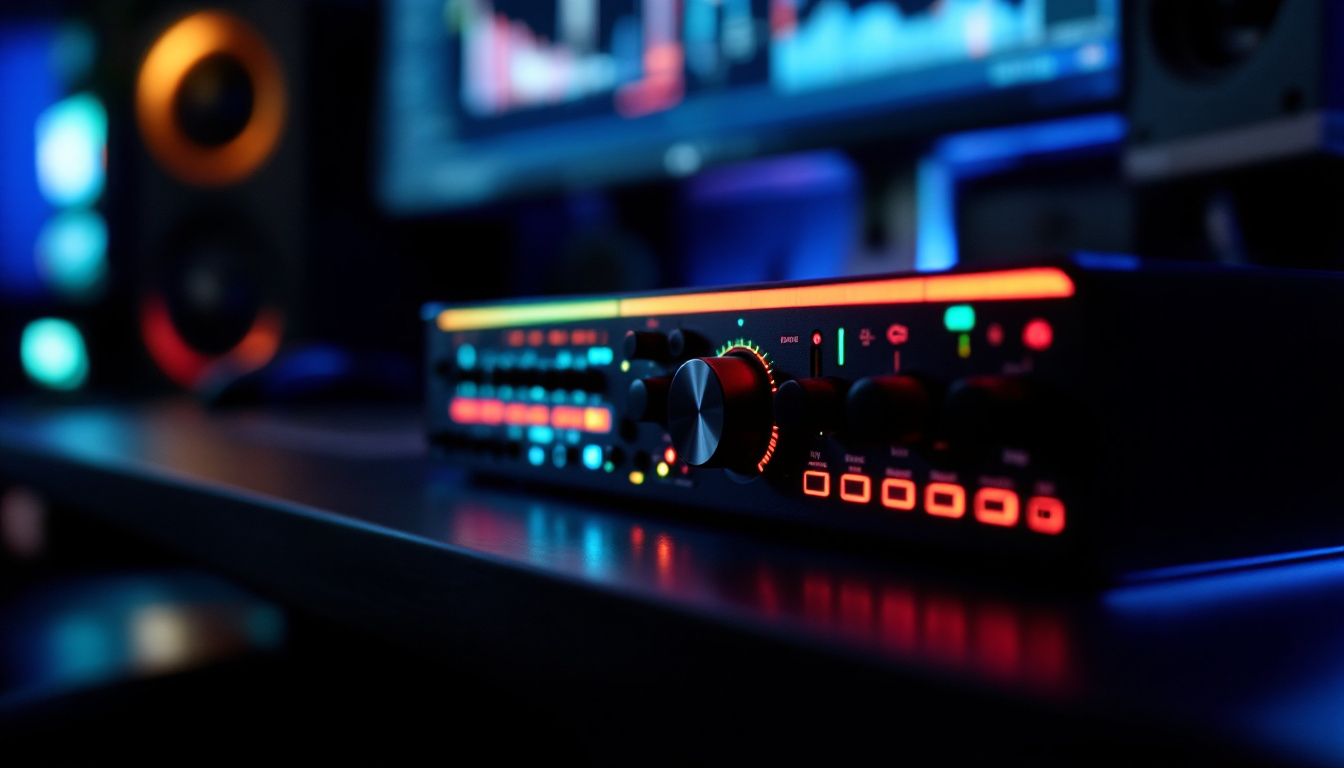
The M Audio Fast Track Ultra is a versatile audio interface designed for musicians, producers, and audio engineers. With its sleek design and robust features, it has become a staple in many home studios and professional setups. One of the standout features of this device is its LED display, which provides essential information about the status and performance of the interface. Understanding how to interpret this display can significantly enhance the user experience and streamline the workflow.
Equipped with four XLR/TRS combo inputs, the Fast Track Ultra allows for simultaneous recording of multiple sources, making it an ideal choice for bands or collaborative projects. Each input features its own gain control, enabling precise adjustments to accommodate various microphones and instruments. Additionally, the interface supports 24-bit/96kHz audio resolution, ensuring high-quality sound capture that meets the demands of both amateur and professional recordings. This level of fidelity is crucial for capturing the nuances of performances, whether it’s the subtle strumming of a guitar or the dynamic range of a vocal performance.
Furthermore, the Fast Track Ultra is compatible with a wide range of digital audio workstations (DAWs), providing flexibility for users to work with their preferred software. It includes MIDI I/O ports, allowing for seamless integration with MIDI devices, which is particularly beneficial for electronic musicians and producers. The interface’s low-latency performance ensures that musicians can monitor their recordings in real-time without noticeable delays, a feature that is vital for maintaining timing and rhythm during tracking sessions. Overall, the M Audio Fast Track Ultra stands out not only for its functionality but also for its ability to adapt to various recording environments and styles.
Understanding the LED Display
The LED display on the M Audio Fast Track Ultra serves multiple purposes, from indicating input levels to showing device status. It is crucial for users to familiarize themselves with the various indicators and what they represent. This knowledge not only aids in troubleshooting but also helps in achieving optimal sound quality during recording and playback. The clarity provided by these indicators can significantly enhance the user experience, making it easier to navigate through different settings and configurations, especially in high-pressure recording environments.
Input Level Indicators
One of the primary functions of the LED display is to show the input levels for each channel. Each channel has its own dedicated LED meter, which lights up in different colors to indicate the level of the incoming signal. Typically, green indicates a healthy signal level, while yellow signifies that the signal is approaching the clipping point. Red, on the other hand, warns that the signal is too high and may result in distortion.
Understanding these indicators is essential for achieving the best sound quality. Musicians and engineers should aim to keep the input levels in the green to ensure clarity and prevent unwanted distortion. Regularly monitoring these levels during recording sessions can help in making necessary adjustments in real-time. Additionally, it is beneficial to become familiar with the dynamic range of the instruments being recorded, as different sources may require varying levels of gain. For instance, a soft acoustic guitar may need a different approach than a loud electric guitar, and being attentive to the LED indicators can help in fine-tuning the input levels accordingly.
Phantom Power and Other Status Indicators
In addition to input levels, the LED display also indicates whether phantom power is activated. This feature is crucial for powering condenser microphones, which require external power to function. When phantom power is turned on, a dedicated LED will illuminate, providing a clear indication that the connected microphone is receiving the necessary power.
Other status indicators on the LED display include sample rate settings and MIDI activity. Understanding these indicators can help users ensure that their setup is functioning correctly and that they are operating at the desired sample rate, which is vital for high-quality audio production. Furthermore, being aware of MIDI activity can enhance workflow efficiency, especially for those integrating MIDI instruments into their recordings. The LED display can serve as a visual cue for MIDI signal flow, allowing users to troubleshoot connectivity issues or confirm that their MIDI controller is communicating effectively with their DAW. This level of awareness can lead to a more streamlined recording process, ultimately fostering creativity and productivity in the studio.
Interpreting the LED Display Colors
The color-coded LED display on the M Audio Fast Track Ultra is designed to convey information quickly and effectively. Each color has a specific meaning, and recognizing these can assist users in making informed decisions during their audio sessions.
Green, Yellow, and Red Indicators
As mentioned earlier, green, yellow, and red are the primary colors used in the LED display. Green lights signify that the input levels are within an acceptable range, providing a clear signal without distortion. Yellow lights indicate caution, suggesting that the levels are getting close to clipping, which can compromise audio quality. Red lights are a clear warning that the signal is too high, and immediate action is needed to prevent distortion.
By paying attention to these colors, users can adjust their input levels accordingly, ensuring that their recordings maintain the highest possible quality. Regularly monitoring the LED display throughout a session can prevent issues that might arise from overlooked signal levels.
Additional Colors and Their Meanings
While green, yellow, and red are the most commonly referenced colors, the LED display may also include other colors to convey additional information. For instance, blue lights may indicate that the device is in a specific operational mode, such as MIDI input or output. Understanding these additional colors can help users troubleshoot issues more effectively and optimize their workflow.
Furthermore, some interfaces may feature blinking LEDs to indicate specific actions, such as recording or playback. Recognizing these patterns can help users stay aware of their current status and ensure that they are operating the device correctly.
Maximizing Performance with LED Display Insights
To make the most out of the M Audio Fast Track Ultra, users should leverage the insights provided by the LED display. By understanding how to interpret the indicators, one can enhance the overall performance of their audio setup.
Setting Optimal Input Levels
To achieve optimal input levels, users should regularly check the LED display while performing sound checks. This practice allows for real-time adjustments, ensuring that the levels remain in the green zone. If the yellow lights begin to illuminate frequently, it may be time to lower the gain or adjust the microphone placement to prevent distortion.
Additionally, using the LED display to monitor levels during mixing can help in balancing tracks effectively. By keeping an eye on the input levels, users can avoid issues that may arise from imbalanced signals, leading to a cleaner final mix.
Utilizing Phantom Power Wisely
When using condenser microphones, it is essential to activate phantom power. The LED display will indicate when this feature is turned on, allowing users to confirm that their microphones are receiving the necessary power. However, it is equally important to turn off phantom power when not in use to avoid potential damage to certain dynamic microphones.
By being mindful of phantom power usage and monitoring the LED display, users can ensure that their microphones function optimally while protecting their equipment from unnecessary risks.
Common Issues and Troubleshooting
Despite the reliability of the M Audio Fast Track Ultra, users may occasionally encounter issues that can be diagnosed through the LED display. Understanding these common problems and their indicators can streamline the troubleshooting process.
Clipping and Distortion
One of the most common issues users face is clipping, which occurs when the input levels exceed the device’s maximum capacity. The LED display will typically show red lights during clipping, indicating that the signal is too high. To resolve this, users should lower the gain on the input channels or adjust the microphone placement to capture a more balanced sound.
Regularly monitoring the LED display can help prevent clipping from occurring in the first place. By keeping an eye on the input levels and making adjustments as needed, users can maintain a clean and professional sound throughout their recordings.
MIDI Connectivity Issues
For those utilizing MIDI features, connectivity issues can arise. If the MIDI activity LED is not lighting up as expected, it may indicate a problem with the MIDI cable or the connected device. Checking connections and ensuring that the correct MIDI channels are selected can often resolve these issues.
Furthermore, users should ensure that their software settings are configured correctly to recognize the M Audio Fast Track Ultra as the MIDI interface. The LED display can provide valuable feedback during this process, helping users confirm that their setup is functioning as intended.
Conclusion
The LED display on the M Audio Fast Track Ultra is an invaluable tool for anyone working with audio production. By understanding the various indicators and their meanings, users can enhance their recording and mixing processes significantly. From monitoring input levels to ensuring proper phantom power usage, the LED display provides real-time feedback that can make a substantial difference in the quality of the final product.
By leveraging the insights gained from the LED display, musicians and audio engineers can optimize their workflow, troubleshoot common issues, and achieve the best possible sound. Whether in a home studio or a professional setting, mastering the M Audio Fast Track Ultra’s LED display is essential for anyone looking to elevate their audio production skills.
Enhance Your Audio Production with Advanced LED Technology
As you strive for perfection in your audio production, complement your skills with the visual excellence of LumenMatrix’s advanced LED display solutions. Elevate your studio environment and engage your audience with Indoor and Outdoor LED Wall Displays, or take your brand on the road with Vehicle LED Displays. Whether you’re looking to create an immersive experience with Floor LED Displays or captivate passersby with LED Poster Displays, LumenMatrix has the technology to bring your vision to life. Discover how our Custom and All-in-One LED Display solutions can transform your audio-visual presentations and help you communicate with impact. Check out LumenMatrix LED Display Solutions today and see your productions in a whole new light.


