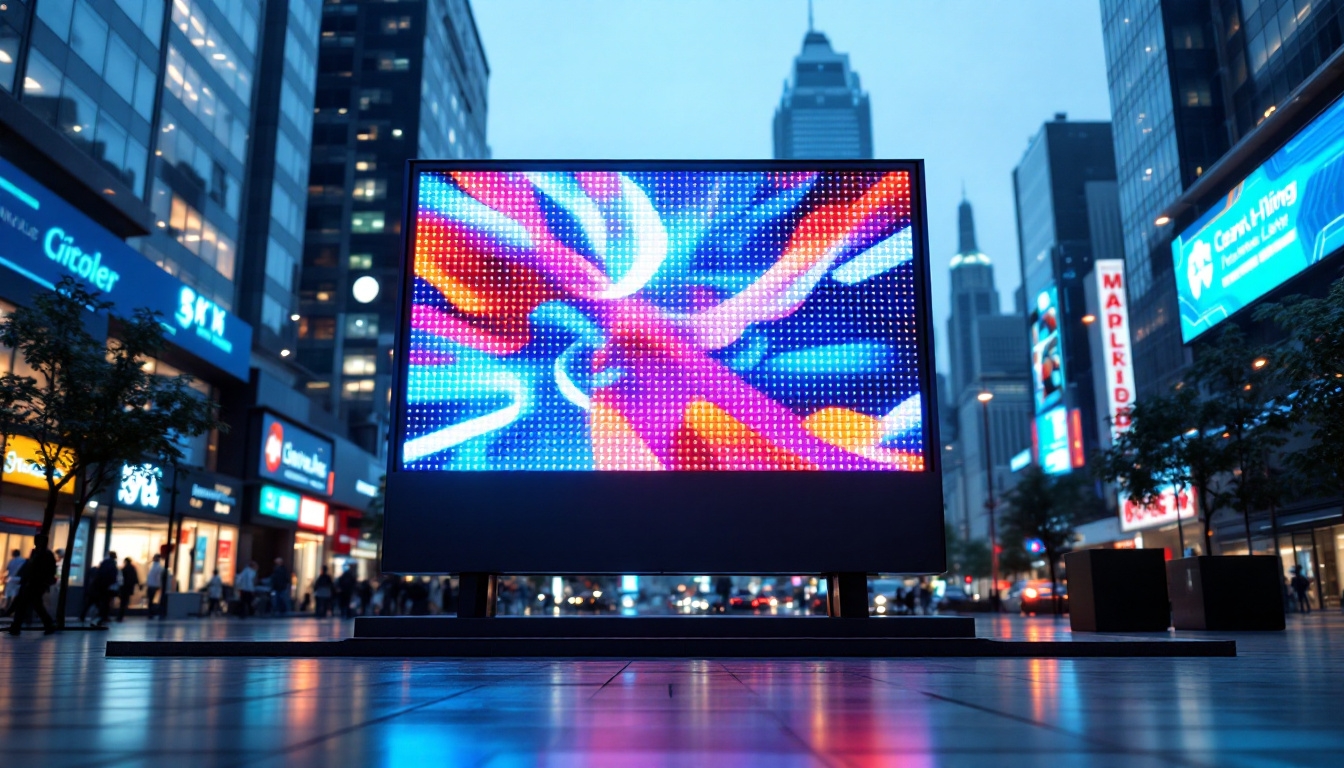
Project Screen To TV: LED Display Explained
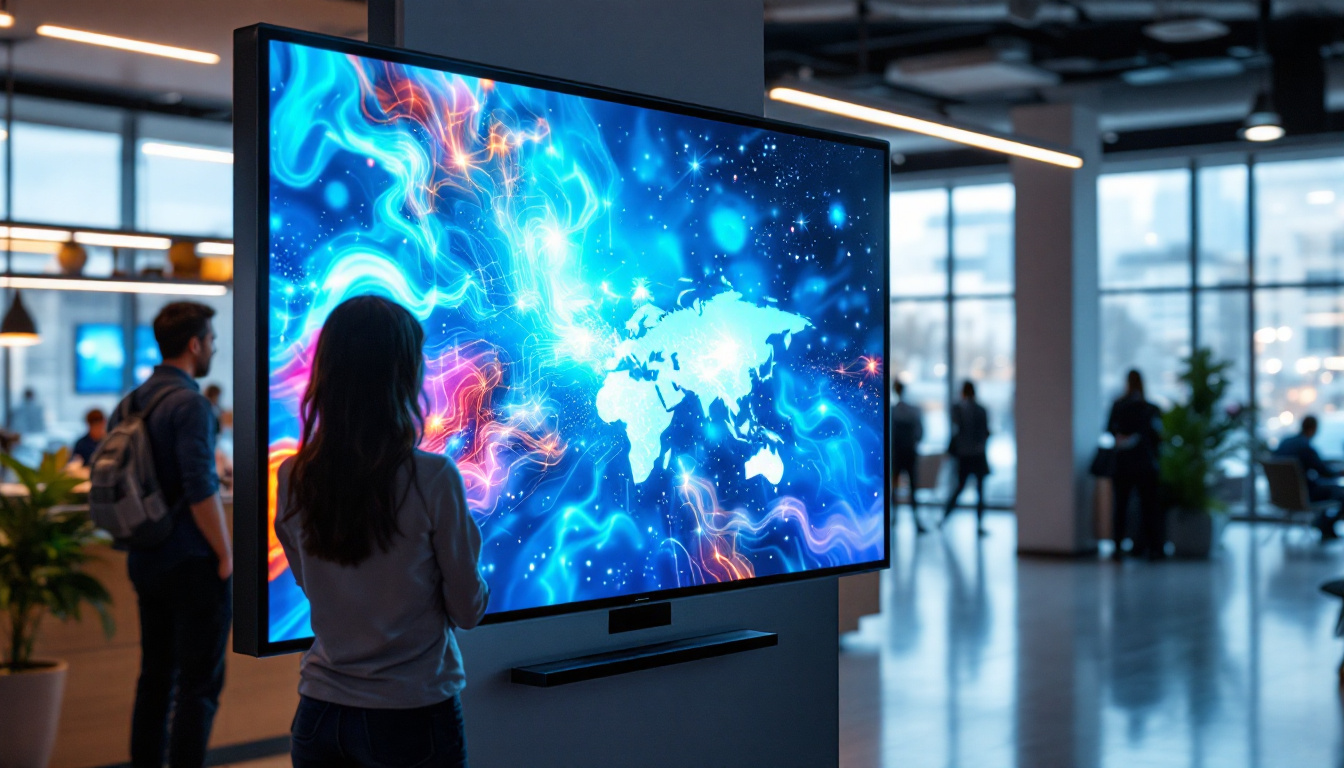
In an age where technology continues to evolve at a rapid pace, the desire to project screens onto larger displays has become increasingly common. Whether for business presentations, home entertainment, or educational purposes, understanding the intricacies of LED displays and their projection capabilities is essential. This article delves into the various aspects of projecting screens to TVs, focusing on LED technology, its benefits, and the methods to achieve seamless connectivity.
Understanding LED Technology
Light Emitting Diode (LED) technology has revolutionized the way we view content. Unlike traditional display technologies, LED displays utilize semiconductor materials to emit light, which allows for brighter and more vibrant images. This section explores the fundamentals of LED technology and its advantages over other display types.
How LED Displays Work
LED displays consist of a matrix of tiny light-emitting diodes that work together to create images. These diodes can emit different colors, and by combining them in various intensities, a full spectrum of colors is achieved. The result is a display that can produce high contrast ratios and deeper blacks, making it ideal for various viewing environments.
One of the key features of LED displays is their energy efficiency. Compared to traditional LCD or plasma displays, LED screens consume significantly less power, which not only reduces electricity bills but also contributes to a lower carbon footprint. Additionally, LED displays are known for their longevity, often lasting tens of thousands of hours before requiring replacement.
Benefits of LED Displays
The advantages of using LED displays extend beyond just energy efficiency and longevity. They offer superior image quality, with brighter colors and better visibility in well-lit environments. This makes them perfect for outdoor events or brightly lit rooms where traditional displays may struggle.
Moreover, LED technology is highly versatile. It can be used in various formats, from large outdoor billboards to small screens in smartphones and tablets. This adaptability allows users to project their screens onto larger LED displays with minimal loss in quality, ensuring a seamless viewing experience.
Projecting Screens to TVs: The Basics
Projecting a screen onto a TV involves several steps, including selecting the right equipment and establishing a connection between devices. Understanding these basics is crucial for achieving a successful projection.
Choosing the Right Equipment
Before attempting to project a screen onto a TV, it is essential to ensure that both the source device (such as a laptop or smartphone) and the TV support the necessary connectivity options. Most modern TVs come equipped with HDMI ports, which provide a reliable connection for high-definition video and audio transmission.
Additionally, many devices now support wireless projection methods, such as Miracast or Apple AirPlay. These technologies allow users to project their screens without the need for physical cables, offering greater flexibility and convenience.
Connection Methods
There are several ways to connect a device to a TV for screen projection. The most common methods include:
- HDMI Cable: A straightforward and reliable method, connecting via HDMI ensures high-quality video and audio transmission. Simply plug one end of the HDMI cable into the source device and the other into the TV.
- Wireless Projection: For those who prefer a cable-free experience, wireless projection methods such as Miracast or AirPlay can be utilized. These technologies allow for screen mirroring over Wi-Fi, enabling users to project their screens without physical connections.
- Chromecast: Google’s Chromecast device allows users to cast content from their devices to a TV. By connecting the Chromecast to the TV’s HDMI port and using the Google Home app, users can easily project their screens.
Setting Up Screen Projection
Once the necessary equipment has been gathered, setting up screen projection can be a straightforward process. However, it requires attention to detail to ensure everything functions correctly.
Wired Connection Setup
For a wired connection using an HDMI cable, the setup process is relatively simple. First, connect the HDMI cable to both the source device and the TV. Next, switch the TV input to the corresponding HDMI port. The screen should automatically mirror the source device’s display. If it does not, adjusting the display settings on the source device may be necessary.
In some cases, users may need to configure the resolution settings to match the TV’s capabilities. This ensures that the projected image is clear and free from distortion. Most devices will automatically adjust to the optimal resolution, but manual adjustments may be required for older devices.
Wireless Connection Setup
Setting up a wireless connection can vary depending on the technology used. For Miracast, ensure that both the source device and the TV are connected to the same Wi-Fi network. On the source device, navigate to the display settings and select the option to project to a wireless display. The TV should appear in the list of available devices, and once selected, the screen will be mirrored.
For Apple users utilizing AirPlay, the process is similarly straightforward. Ensure that the Apple TV is connected to the same Wi-Fi network as the iPhone or iPad. Swipe down from the upper right corner of the device to access the Control Center, select Screen Mirroring, and choose the Apple TV from the list. The device’s screen will then be projected onto the TV.
Enhancing the Projection Experience
While projecting screens to TVs can be a straightforward process, several tips can enhance the overall experience. From optimizing settings to choosing the right environment, these suggestions can help ensure a successful projection.
Optimizing Picture and Sound Settings
Adjusting the picture and sound settings on both the TV and source device can significantly enhance the viewing experience. For picture settings, consider adjusting brightness, contrast, and color saturation to achieve the best image quality. Many TVs come with preset modes for different viewing environments, such as cinema or sports mode, which can be helpful.
Sound settings are equally important. If the TV has built-in speakers, ensure that the volume is set appropriately. For a more immersive experience, consider connecting external speakers or a soundbar to the TV. This can enhance audio quality, providing a richer viewing experience.
Choosing the Right Environment
The environment in which the projection takes place can greatly affect the overall experience. Ideally, the room should be dimly lit to minimize glare on the screen. If projecting during the day, consider using blackout curtains to reduce ambient light. This helps ensure that the projected image remains clear and vibrant.
Additionally, consider the distance between the source device and the TV. For wireless connections, a strong Wi-Fi signal is crucial to prevent lag or disconnection. Keeping the source device within a reasonable range of the TV can help maintain a stable connection.
Common Issues and Troubleshooting
Even with the best preparations, issues can arise during the projection process. Understanding common problems and their solutions can help users troubleshoot effectively.
No Signal Detected
One of the most common issues encountered is the “No Signal Detected” message on the TV. This can occur for several reasons, including incorrect input selection or faulty connections. To resolve this, ensure that the correct HDMI input is selected on the TV. If using a wired connection, double-check that the HDMI cable is securely connected to both the source device and the TV.
If the issue persists, try restarting both the source device and the TV. Sometimes, a simple reboot can resolve connectivity issues that may have arisen during the initial setup.
Lag or Poor Quality
Lag or poor image quality can be frustrating when projecting screens. For wired connections, ensure that the HDMI cable is of good quality and not damaged. If using a wireless connection, check the Wi-Fi signal strength. Weak signals can lead to lag or reduced quality. Moving closer to the router or reducing interference from other devices can often improve performance.
Future Trends in Screen Projection Technology
As technology continues to advance, the future of screen projection is likely to see significant innovations. Emerging trends indicate that both hardware and software developments will enhance user experiences.
Advancements in Wireless Technology
Wireless projection technology is expected to evolve, with improvements in speed and connectivity. Future devices may utilize advanced protocols that allow for faster data transmission and reduced lag, making wireless connections as reliable as wired ones.
Additionally, the integration of artificial intelligence in projection technologies could lead to smarter devices that automatically adjust settings for optimal performance based on the environment and content being displayed.
Enhanced Interactivity
Another exciting trend is the potential for enhanced interactivity in screen projection. Future devices may allow for touch or gesture control, enabling users to interact with projected content in real time. This could revolutionize presentations, educational settings, and entertainment experiences, making them more engaging and dynamic.
Conclusion
Projecting screens to TVs using LED displays offers a versatile and efficient way to share content. With the right equipment and setup, users can enjoy high-quality visuals and enhanced experiences, whether for work or leisure. As technology continues to advance, the possibilities for screen projection will only expand, making it an exciting area to watch in the coming years.
By understanding the fundamentals of LED technology, the various connection methods, and how to optimize the projection experience, users can ensure successful screen sharing. Whether for a business presentation, a movie night, or an educational demonstration, projecting screens to TVs is a valuable skill in today’s digital age.
Discover LumenMatrix LED Display Solutions
Ready to elevate your screen projection experience? LumenMatrix is at the forefront of LED display innovation, offering a wide array of solutions tailored to your needs. From captivating Indoor LED Wall Displays to dynamic Outdoor LED Wall Displays, and from versatile Vehicle LED Displays to sleek LED Poster Displays, our technology is designed to make your visual presentations stand out. Embrace the future of visual communication with our LED Sports Displays, Floor LED Displays, Custom LED Displays, All-in-One LED Displays, and LED Transparent Displays. Experience the difference that cutting-edge technology can make in engaging your audience. Check out LumenMatrix LED Display Solutions today and transform the way you share your message.

